These Chocolate Chip Banana Nut Muffins are moist and absolutely delicious. This is an excellent way to use your ripe bananas and make an excellent dessert that everyone will love.
I substitute all purpose flour by almond flour so they are gluten free! Brown sugar gives a beautiful amber color. A must-try dessert…
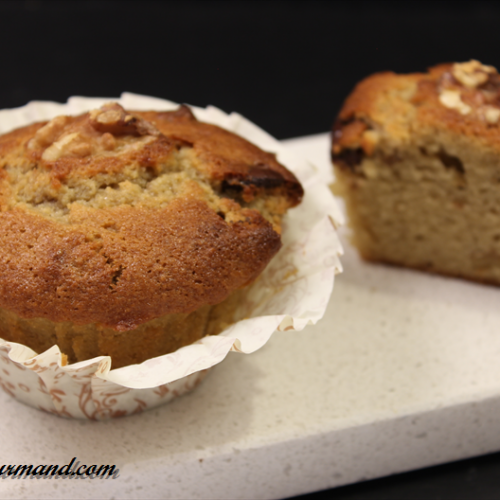
Chocolate Chip Banana Nut Muffins
Ingredients
- 3 eggs
- 200 g brown sugar
- 2 pinches salt
- 3 very ripe bananas
- 2 tsp baking powder
- 50 g unsalted butter melted
- 280 g almond flour
- 120 g chocolate chips (60%)
- 120 g chopped walnuts (or other nuts)
Instructions
- Preheat oven to 370 degrees F. Grease muffin cups with butter or line with paper muffin liners.
- Stir eggs, brown sugar and salt.
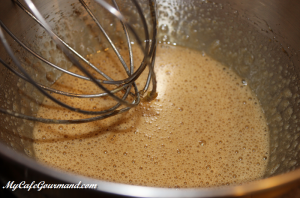
- Mash bananas with a fork and mix them with egg mixture.
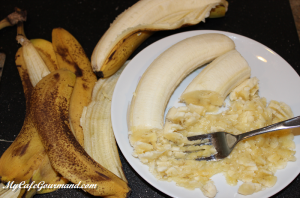
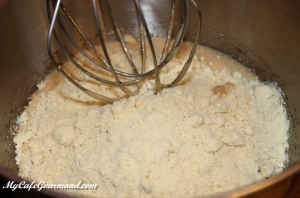
- Stir almond flour and mix until smooth.
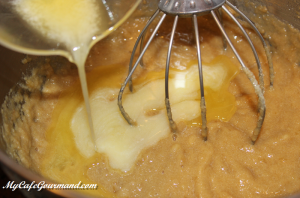
- Add melted butter.
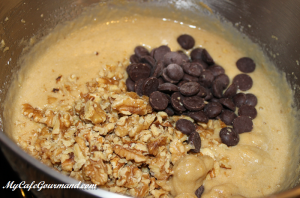
- Then chopped nuts and chocolate chips. Mix well.
- Spoon batter into prepared muffin cups.
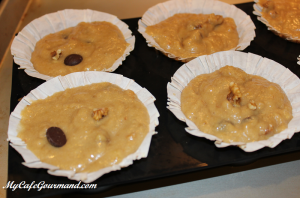
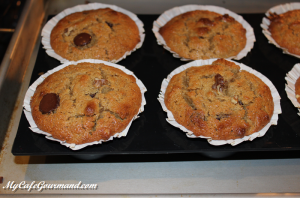
- Bake in the preheated oven until golden, 25-30 minutes.
Buckwheat Crepes
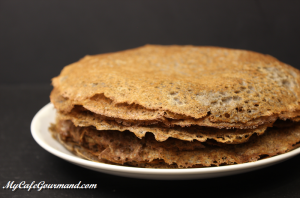
The “Galettes de Sarrasin” – traditional french buckwheat crepes that can be served with savory filling: ham & cheese (Galette Jambon Fromage), veggies, eggs, mushrooms, salmon… The filling option is endless. My Breton husband loves them so much, he eats them plain with butter or with jam.
This recipe is gluten free!
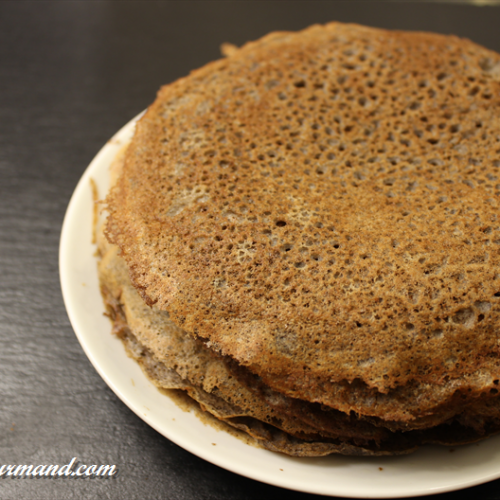
Buckwheat Crepes
Ingredients
- 250 g buckwheat flour sifted
- 1 tsp sea salt
- 350 ml milk
- 350 ml water
- 2 eggs
- 50 g melted butter
- butter for cooking
Instructions
- Combine buckwheat flour with salt, milk and water together.
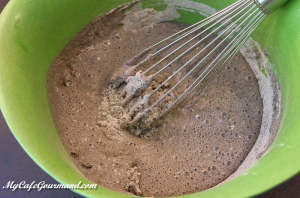
- Add eggs.
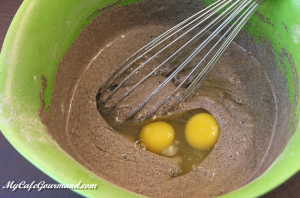
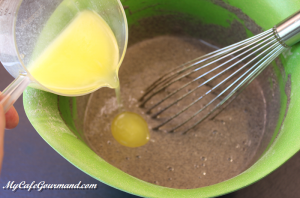
- Add melted butter and whisk until smooth.
- Cover with plastic and and let rest for 2 hours.
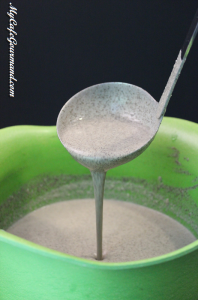
- Heat a lightly buttered nonstick skillet over medium high heat. Add 1/4 cupful batter to skillet and immediately tilt to cover the bottom of the pan. Cook until edges start to dry and center is set, for about 30 seconds, lift with spatula and cook the other side for couple more seconds, move them to the cutting board.

- Always keep your eyes on the pan.
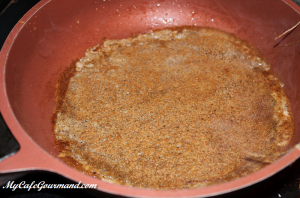
- Brush each crepe with butter and serve while they are still hot.
Heart-shaped Ice Cream
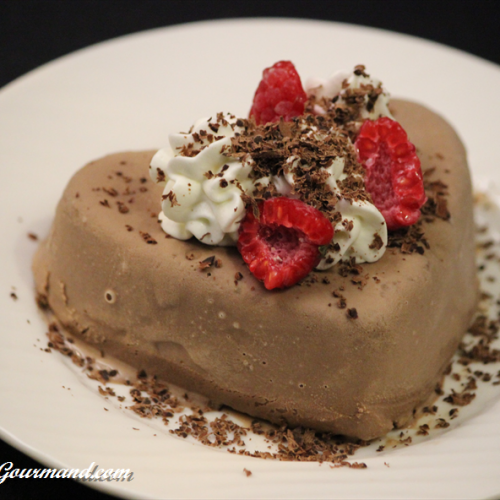
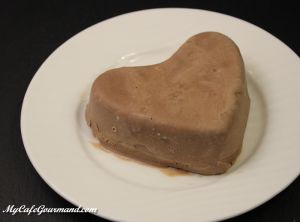
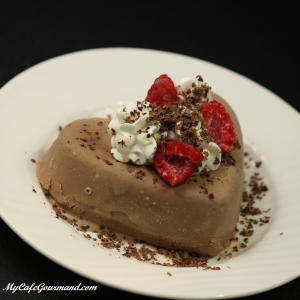
This heart-shaped Ice Cream will please your significant other without having to spend the whole day cooking. Ice cream in the shape of a heart served with a cloud of whipping cream dusted with grated chocolate. This icy dessert will melt hearts!
Heart-shaped Ice Cream
Ingredients
- 200 g chocolate ice cream (or another your favorite ice cream/sorbet )
- 50 ml heavy whipping cream ( 35%) very cold
- 1 tsp sugar
- Grated chocolate
- Few red berries (blueberry, raspberry…)
Instructions
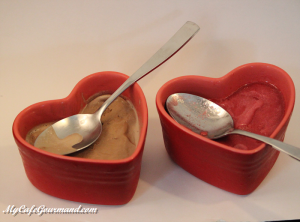
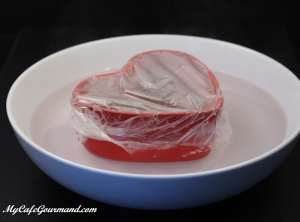
- Take the ice cream out of the freezer and leave it out for 5 minutes to make it softer. Put the ice cream in a heart shaped mold. Cover with plastic wrap and put it back in the freezer for around 45 minutes.
- Submerge the mold under hot water for a couple seconds (wipe the water off of the mold with a towel so that the serving plate does not get wet).
- Remove the ice cream from the mold onto a plate. Put the plate into the freezer.
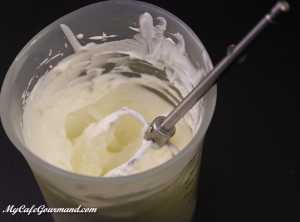
- Whip the heavy cream with the sugar until fluffy. Don’t over beat.
- When serving, put the whipping cream on the heart. Decorate with nuts, grated chocolate, and red berries. Serve right away.
French Chocolate Mousse
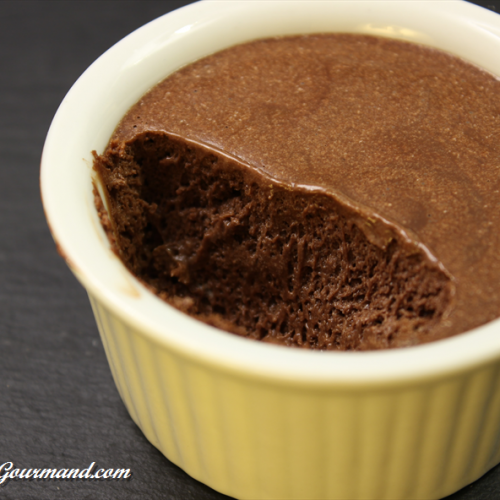
Only 2 ingredients are needed to prepare this delicious French chocolate mousse. No dairy products and no sugar added; all you need is dark chocolate and eggs. So simple and so tasty! The only downside is that you should allocate about 4 hours to chill the mousse before serving.
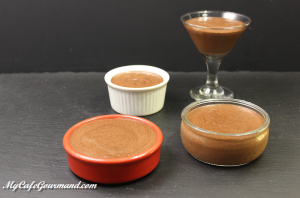
In small individual glasses, the chocolate mousse will be perfect for a cafe gourmand!
French Chocolate Mousse
Ingredients
- 200 g dark or milk chocolate chips or break chocolate into small pieces
- 6 fresh eggs (at room temperature)
- 1 pinch salt
Instructions
- Melt chocolate in a microwave (or use a double boiler) until the chocolate is completely melted. If you use a microwave: put the chocolate in a large microwave-safe bowl, microwave for 25 seconds, then stir. Microwave for 25 more seconds and stir again. Continue microwaving and stirring until the chocolate is liquid, smooth, and shiny.
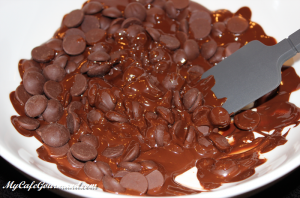
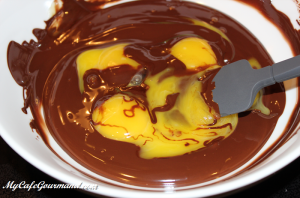
- Separate egg yolks from the egg whites. Add egg yolks in melted chocolate and mix well.
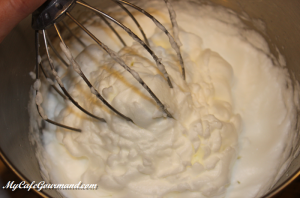
- Whisk egg whites with salt until stiff.
- Carefully fold the egg whites into chocolate using a spatula.
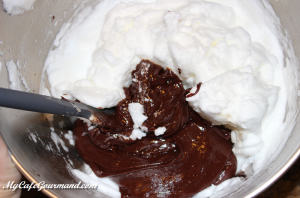
- You should have a smooth and fluffy mousse.
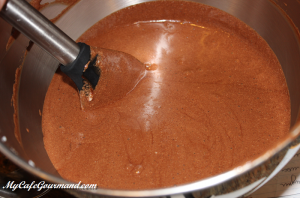
- Divide the mousse among individual glasses. Refrigerate your dessert for 4-6 hours.
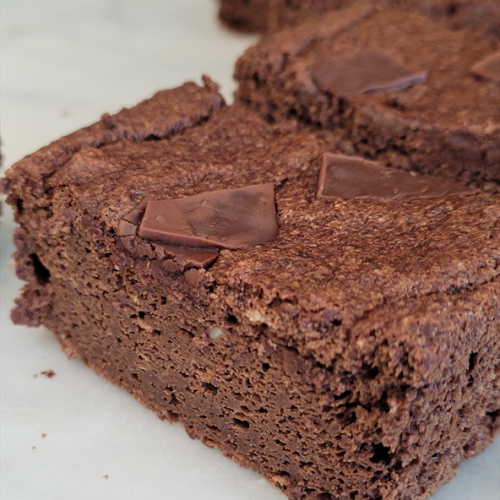
Chocolate cake without flour, sugar, butter and dairy products
This is must-try chocolate cake without flour, sugar, butter and dairy products. So you can allow yourself to eat the second (and third) piece. 😉 All chocolate lovers will definitely fell in love with dessert.
This is translation of original french recipe 𝙈𝙤𝙚𝙡𝙡𝙚𝙪𝙭 𝙡é𝙜𝙚𝙧 𝙖𝙪 𝙘𝙝𝙤𝙘𝙤𝙡𝙖𝙩 @recettes_simplyfit without any modification: delicate and very chocolate dessert.
You like it? Check my other gluten-free recipes.
Chocolate cake without flour, sugar, butter and dairy products
Ingredients
- 150 g chocolate (60% cocoa)
- 180 g applesauce without sugar
- 40 g starch (maizena)
- 2 tsp baking powder dough
- 3 eggs (separate yolks from whites)
- 1 a pinch of salt
Instructions
- Preheat the oven to 180C, (390F) and line a baking dish with parchment paper or use a silicone mold.
- Melt the chocolate in a water bath or a microwave.
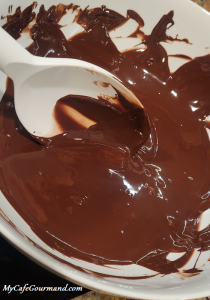
- Add applesauce to melted chocolate. Mix.
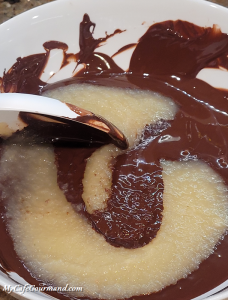
- Add yolks and mix well.

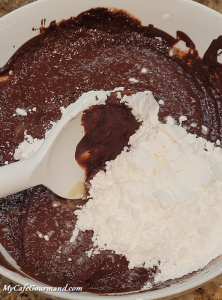
- Add starch and baking powder. Mix.
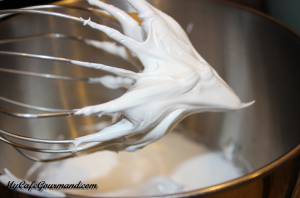
- Beat egg whites until foamy, adding a pinch of salt.
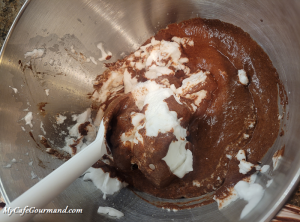
- Gently fold the beaten egg whites into the chocolate mixture.
- Pour the batter into a baking dish.
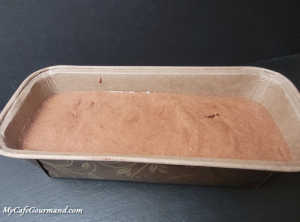
- Bake in preheated oven for approximately 25 minutes. Baking time depends on the oven and shape. Check readiness with a knife blade.
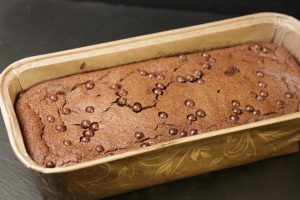
Flourless chocolate cake
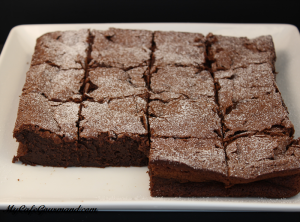
The flourless chocolate cake is a delicate gluten free dessert that melts in your mouth. The recipe is absolutely simple without any flour! All you need is chocolate, butter, sugar and eggs.
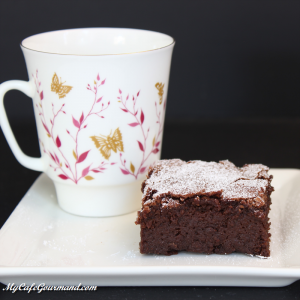
Flourless chocolate cake
Ingredients
- 200 g chocolate chips (60%)
- 150 g unsalted butter
- 200 g sugar
- 6 eggs
- 2 pinches salt
- 1/4 tbsp powdered sugar
Instructions
- Melt the chocolate and butter on a water bath or in a microwave. Mix well.
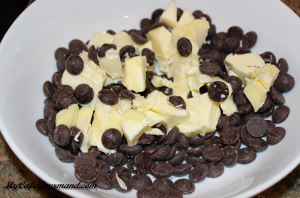
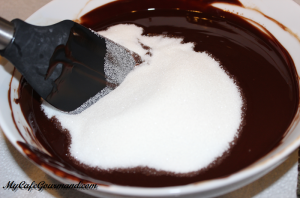
- Add sugar and mix well.
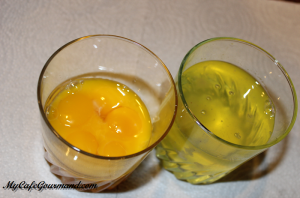
- Separate yolks from egg whites.
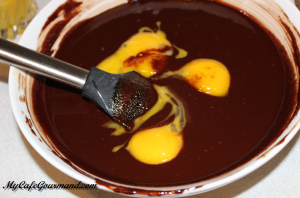
- Add yolks into the melted chocolate and mix.
- Add salt to the egg whites, and beat into a thick foam.

- Using a spatula carefully fold in whipped egg whites into chocolate mass.
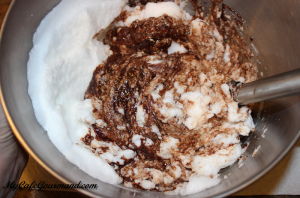
- Preheat oven to 380 degrees F. Generously butter a baking pan and pour the batter into the cake pan.
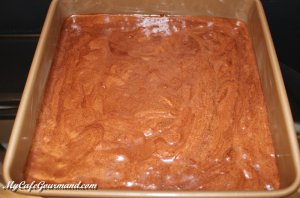
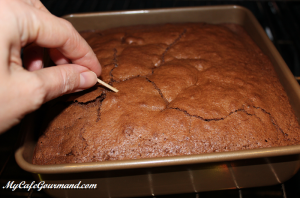
- Bake in in the preheated oven for about 25 minutes. The exact time of baking depends on the oven, size and quality of the baking pan. Once the the cake is moist and not liquid inside (it’s not a lava cake) – it’s ready. Please, don’t overcook!
- Let the cake cool then carefully remove it from the pan. Dust it with powdered sugar and serve.
Chocolate Hazelnut Truffles
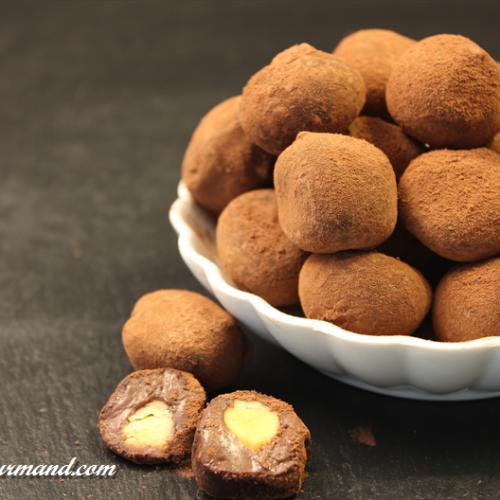
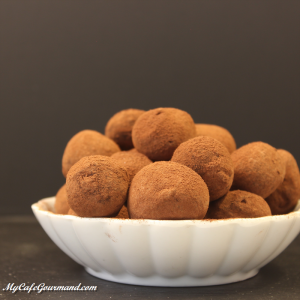
Chocolate Hazelnut Truffles is one delicacy that no one can refuse. The roasted hazelnut compliments the rich cacao powder. Store the truffles in container in the fridge for up to 5 days, but they will disappear from the fridge a lot faster, trust me on this.
Chocolat Hazelnut Truffles
Ingredients
- 150 ml heavy whipping cream
- 200 g dark chocolate (60-70% cacao)
- 50 g unsalted butter
- 30 g hazelnuts
- 2 Tbsp cacao powder
Instructions
- Bring the heavy cream to a boil. Pour the cream over the chocolate chips. Wait 1-2 minutes until chocolate melts.
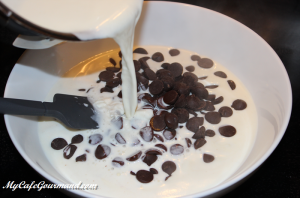
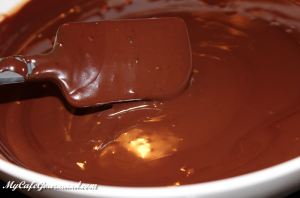
- Add butter and whisk until smooth. Place it in the frizzer for about 2 hours, until firm enough to roll.
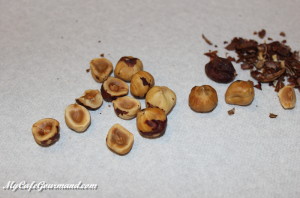
- Preheat oven to 350 degrees F. Spread the nuts in an even layer on the baking sheet, and roast it for 10-15 minutes. Stirring every 3 minutes. Check the nuts. You are looking for the color to be a few shades darker. When the nuts are browned and smell nutty, remove from the oven and transfer onto a plate. Cool it and clean from the flakes. I like my truffles extra tiny, so I cut each hazelnut in half. You don't have to cut them if you are making large truffles.
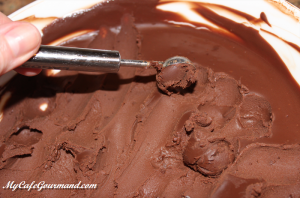
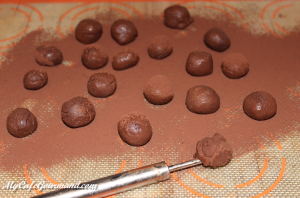
- Use a teaspoon or small cookie scoop to portion the ganache, hide one hazelnut inside each piece, roll the balls between hands, until smooth and place on a plate.
- Roll in cacao powder.
- Refrigerate for at least 1 hour.
Peach Melba
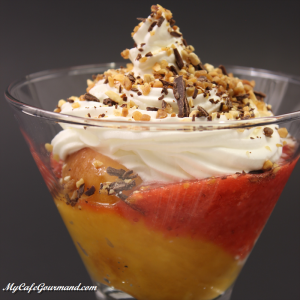
This is my version of a classical dessert “Peach Melba”. You just need roasted peaches, a red berry sauce and an exquisite whipped cream.
Peach Melba
Ingredients
- 3 peaches
- 1 Tbsp brown sugar (or sugar)
- 250 g berries (raspberries, strawberries, blackberries)…)
- 200 ml heavy whipping cream ( 35%) very cold
- 2 tsp sugar
- 1/2 l vanilla ice cream
- Some dark chocolate
- Some sliced almonds
Instructions
- Preheat oven to 390 degrees F. Line one baking sheet with parchment paper.
- Cut the peaches in half, and remove the stones. Place the peach halves on the baking sheet. Sprinkle with brown sugar.
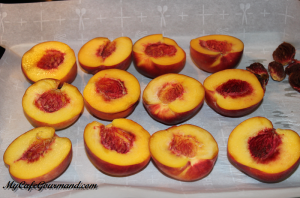
- Bake in the oven about 35 minutes until the peaches are tender. Remove from the oven, let them cool down completely, then carefully peel the skin.
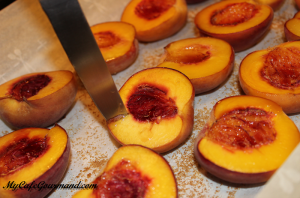
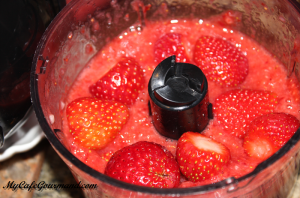
- Rinse and drain fresh berries and puree them until smooth. Pass the puree through a fine sieve to remove all tiny seeds.
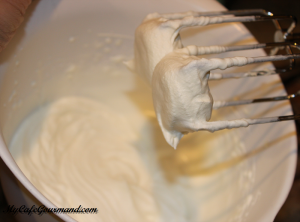
- Whip the heavy cream with the sugar until fluffy. Don’t over beat.
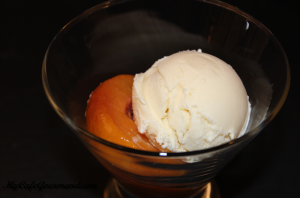
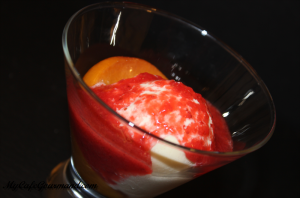
- In each glass, put one half of peach and one ball of vanilla ice cream.
- Pour 2 tablespoons of berries puree.
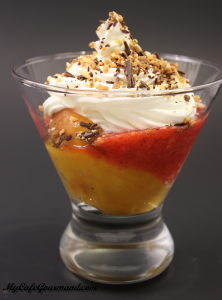
- Add the whipped cream and finish with chocolate crumbs and sliced almonds. Serve right away.
Gluten-free Almond Cake
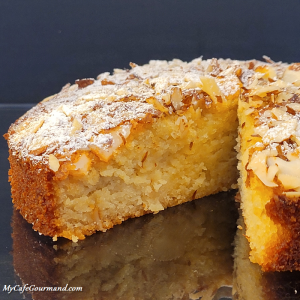
Here is the incredibly delicate and gluten-free almond cake. This is the “Amandier” recipe by renowned French Pastry chef Christophe Michalak with minor modifications. The main ingredients are almond flour and mascarpone.
If you enjoy this recipe, check out my other gluten-free desserts, such as the delicious banana muffins!
Gluten-free almond cake
Ingredients
- 6 eggs
- 180 g sugar
- 40 g honey
- 300 g almond flour
- 140 g softened salted or unsalted butter
- 100 g mascarpone cheese
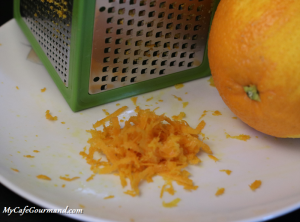
- Some orange zest
- 1 Tbsp liquid vanilla (or 1 packet of vanilla sugar) (optional)
- 2 Tbsp sliced almonds
- Some powdered sugar (optional)
Instructions
- Preheat oven to 330°F (150°С). Grease baking pan with butter or line with parchment paper.
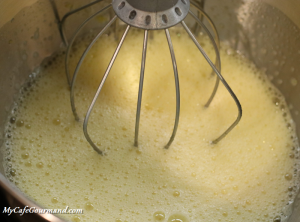
- In a mixer bowl, put eggs, sugar, and honey.
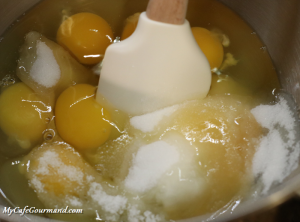
- Mix together.
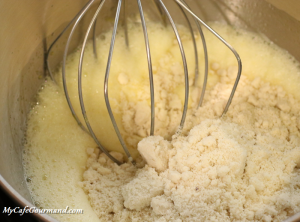
- Add almond flour and mix again.
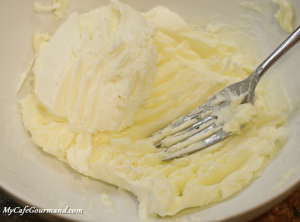
- In another bowl, mush the butter and mascarpone cheese together using a fork.
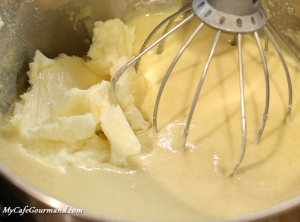
- Add the mascarpone and butter to the egg-sugar mixture and mix again.
- Add orange zest and vanilla to the batter. Mix well for the last time.
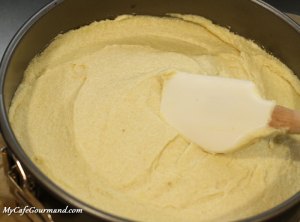
- Pour the batter into baking pan.
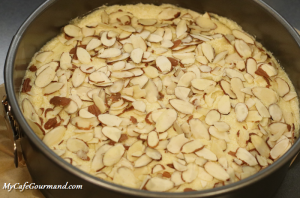
- Sprinkle with sliced almonds.
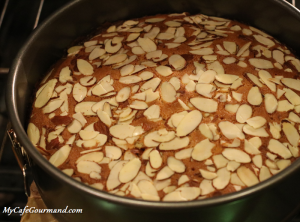
- Bake in the preheated oven until golden, about 45 minutes. Allow the almond cake to cool before removing it from the pan. Sprinkle with powdered sugar before serving.
Vanilla Creme Brulee
Absolutely amazing what a little cream, a little sugar and couple of eggs can turn into…. Perfect restaurant quality dessert. A rich custard topped with a hard layer of caramel. This Vanilla creme brulee is very easy to make if you follow all the steps correctly.
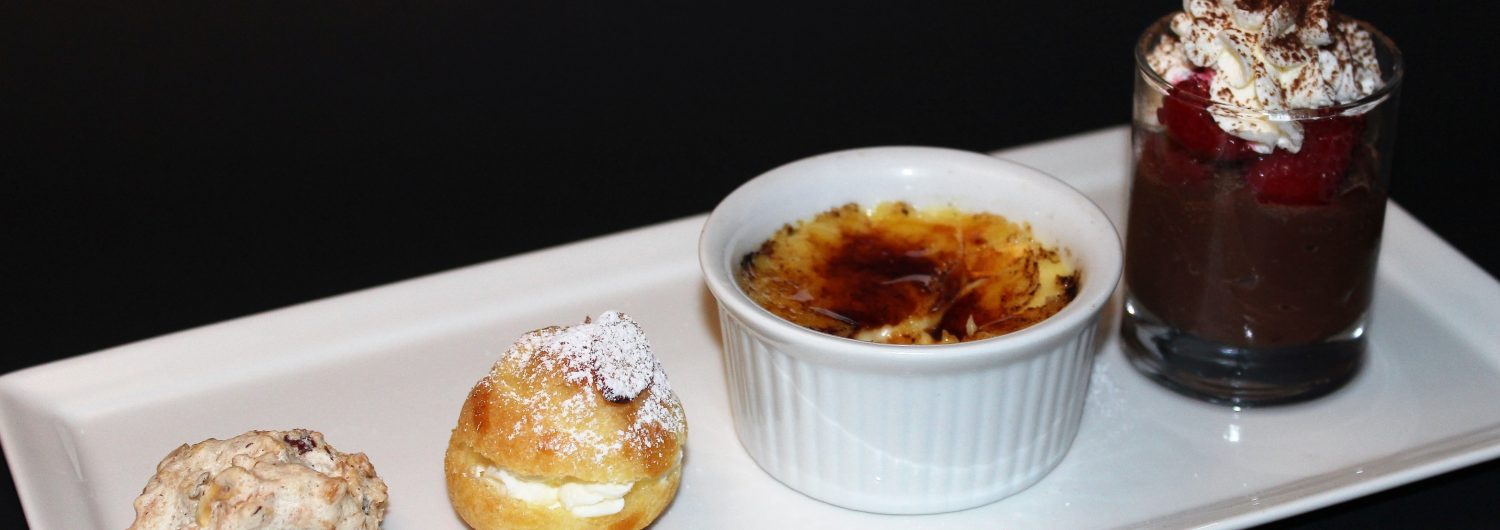
It will perfectly complete your cafe gourmand if the crème brûlée is served in small ramekins.
Look at this short video ! 🙂
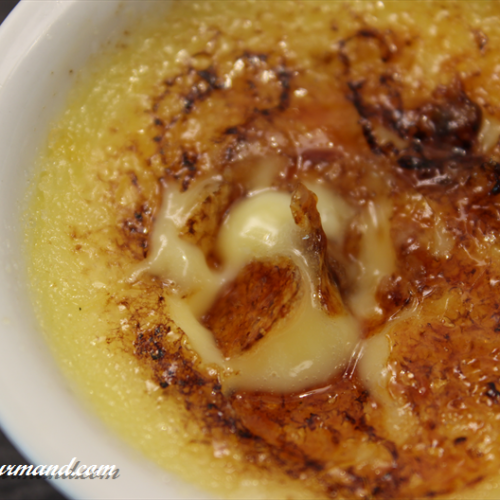
Vanilla Crème brûlée
Ingredients
- 8 egg yolks
- 120 g granulated sugar
- 1/2 vanilla bean
- 640 ml whipping cream
- 6 tsp granulated sugar
Instructions
- Preheat oven to 250 degrees F. Split the vanilla bean in half and scrape the seeds into the cream. In a medium bowl, combine together sugar, eggs yolks, vanilla and whisk.
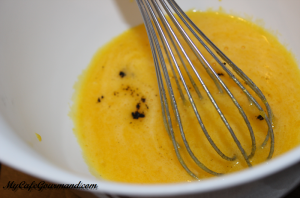
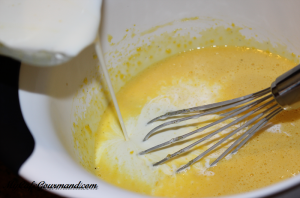
- Add the cream a little at a time and stir. Remove the scum with a tea spoon.
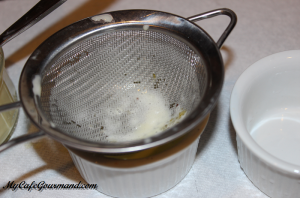
- Strain the mixture through a fine sieve and pour it into the ramekins. Divide cream mixture among ramekins (about 6 ramekins).
- Arrange the ramekins in a baking pan with deep sides. And carefully pour water around ramekins so that the water level must reach about 2/3 of the ramekins.
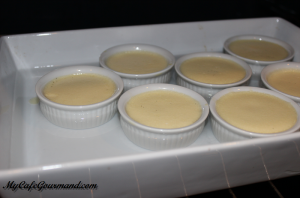
- Bake for 1 hour and 30 minutes. You will know its ready when the custard is wobbly and jiggle from side to side when nudged (it looks like jello).
- Remove the custard from the water bath and let cool completely, cover with plastic wrap and refrigerate for 6 hours (overnight).
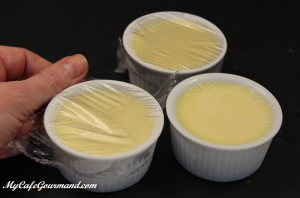
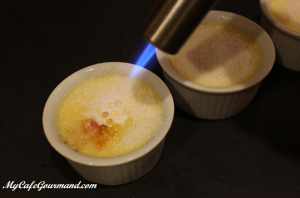
- Before serving, cover each cold creme brulee evenly with sugar (1 tsp). Caramelize using a propane torch. If you don’t have one propane torch, use the broiler: put the oven rack about 6 inches away from the broiler. Place the custards on the baking sheet and broil for about 3-5 minutes, or until sugar bubbles and turns golden brown. (Keep a close eye on them, they can burn quickly)
