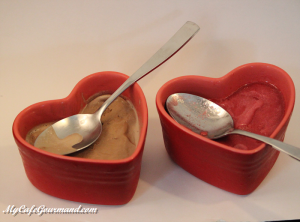
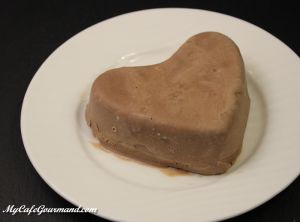
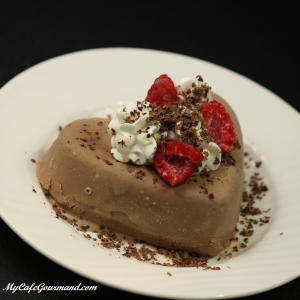
This heart-shaped Ice Cream will please your significant other without having to spend the whole day cooking. Ice cream in the shape of a heart served with a cloud of whipping cream dusted with grated chocolate. This icy dessert will melt hearts!

Heart-shaped Ice Cream
Ingredients
- 200 g chocolate ice cream (or another your favorite ice cream/sorbet )
- 50 ml heavy whipping cream ( 35%) very cold
- 1 tsp sugar
- Grated chocolate
- Few red berries (blueberry, raspberry…)
Instructions
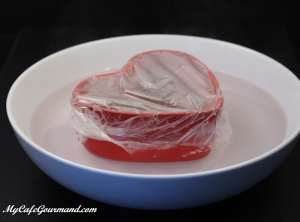
- Take the ice cream out of the freezer and leave it out for 5 minutes to make it softer. Put the ice cream in a heart shaped mold. Cover with plastic wrap and put it back in the freezer for around 45 minutes.
- Submerge the mold under hot water for a couple seconds (wipe the water off of the mold with a towel so that the serving plate does not get wet).
- Remove the ice cream from the mold onto a plate. Put the plate into the freezer.
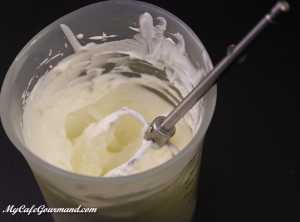
- Whip the heavy cream with the sugar until fluffy. Don’t over beat.
- When serving, put the whipping cream on the heart. Decorate with nuts, grated chocolate, and red berries. Serve right away.
Happy Valentine’s Day
Do you celebrate February 14th? I don’t. But it doesn’t mean that we don’t eat supper on this day 🙂
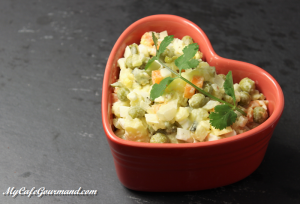
The most simple salad (for example, Potato salad) will make your table look romantic, if you will serve it in a heart shape dish.
Happy Valentine’s day everyone.
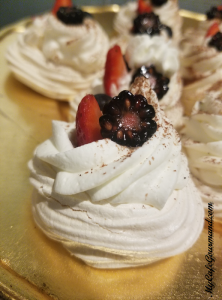
Mini Pavlova
Pavlova is a dessert, named after the Russian ballerina Anna Pavlova, who toured Australia and New Zealand in 1926. It is a meringue dessert with crisp crust and soft light inside, topped with cream and fresh berries.
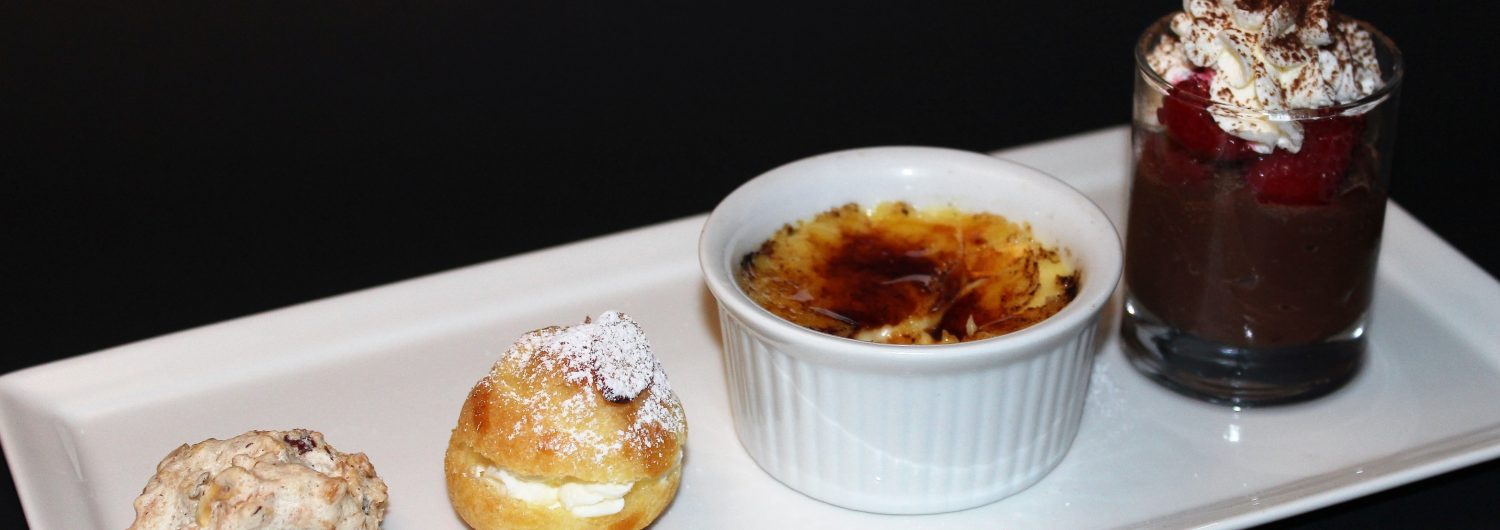
You can make meringue shells ahead of time and freeze them. I usually make the cream the same day I want to serve my Mini Pavlova. And as always this dessert is a perfect mini dessert for my Cafe Gourmand.
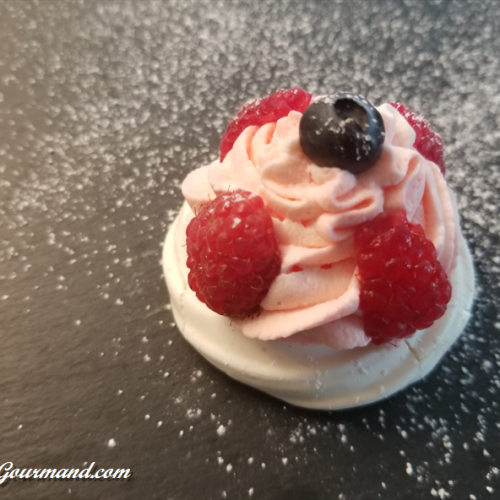
Mini Pavlova dessert
Ingredients
Meringue
- 4 egg whites (room temperature)
- 1 pinch of salt
- 220 g confectioner’s sugar
Cream
- 200 ml heavy whipping cream ( 35%) very cold
- 100 g mascarpone cheese
- 1,5 Tbsp sugar
- 1 drop red food coloring (optional)
- Fresh berries raspberries, strawberries, blackberries, blueberries…
Instructions
Meringue
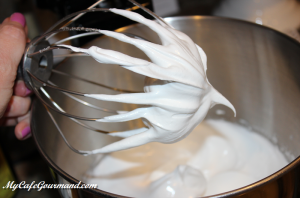
- Using mixer, begin beating your egg whites and salt on a low speed, steadily increasing up to medium high.
- While beating on a medium speed, slowly add the confectioner’s sugar, about 1-2 Tbsp at a time. Once all the sugar is added, keep beating until the egg whites hold stiff peaks.
- Preheat oven to 230 degrees F. Draw circles of approximately 4-8 cm diameter (you can use a pint glass as a guide) on each of the parchment lined sheets.
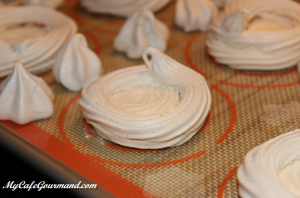
- Spoon meringue into piping bag, fitted with 3/4 inch tip. Pipe meringue to cover circles on prepared baking sheet. Pipe two more rings of meringues on top of outer edge to form walls of Pavlovas.
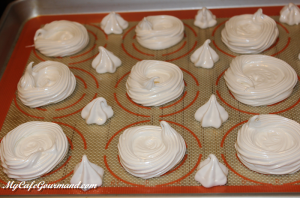
- Bake in center of oven until dry and crisp, about 1 1/2 hours.
- Turn off the oven and let the meringues completely cool in the oven. Once cooled, you can top them with whipped cream and berries.
Filling
- With mixer, beat together very cold heavy cream and mascarpone cheese, until whipped gradually adding sugar. Add food coloring. Don’t overbeat the cream, or you will end up with butter.
- Spoon cream into piping bag.
- Right before serving, pipe frosting on the pavlovas and top with fresh berries.
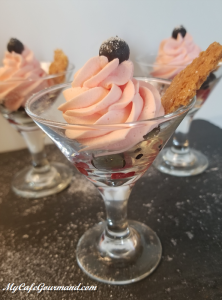
- If you have some leftovers cream, you can pipe it into a small glass and garnish with some fresh berries.