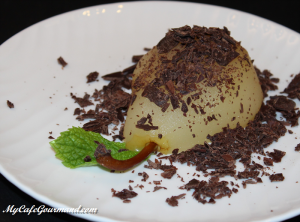
The pears are poached with a vanilla bean and a bit of sugar. Then, they are cooled down and sprinkled with shredded chocolate. This is a very easy recipe to make and will be perfect for a special event or holidays.
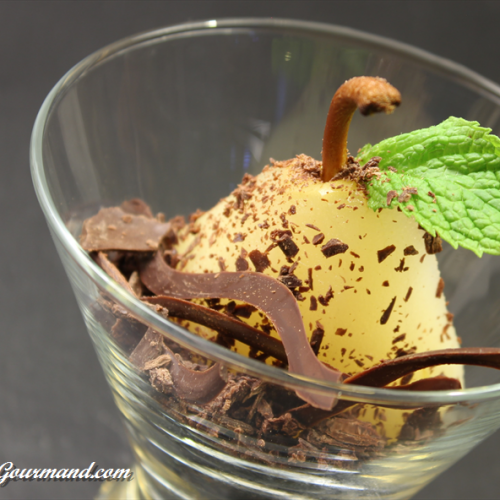
Easy poached pears with chocolate
Ingredients
- 4 pears
- 750 ml water
- 3 Tbsp sugar
- 1 vanilla bean cut in half longwise
- 50 g dark chocolate
- Some Fresh mint
Instructions
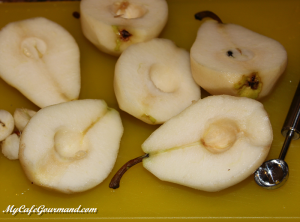
- Peel the pears.
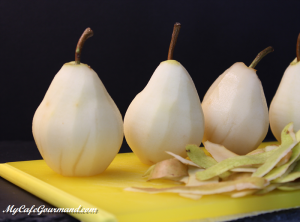
- Cut them in half, then core.
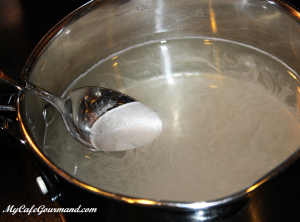
- In the pot, bring water to a boil with sugar and vanilla bean.
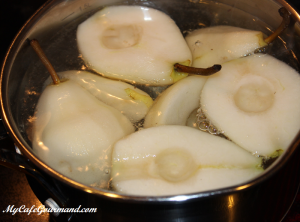
- Add the pears and boil for 10 to 15 minutes, until they became soft but keep their shape. Remove the pot from the heat and let the pears cool in the syrup.
- To serve, drain the pears well. Then place each half on an individual plate.
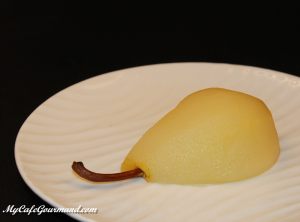
- Sprinkle with shredded chocolate and decorate with mint.
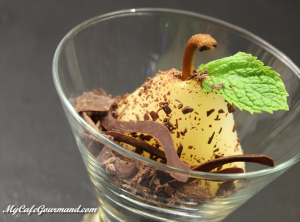
- You can also serve this dessert in a glass.
Easy French Chocolate Tart
You don’t have to be a famous chef or spend days in your kitchen to make a delicious dessert. You can make this amazing, stress-free chocolate tart in no time, especially when using a ready to bake pie crust. The hardest part is to wait for chocolate to firm up, then you can finally try a piece…. or two 🙂

Easy French Chocolate Tart
Ingredients
- 1 sheet ready to bake pie crust
- 360 ml heavy whipping cream ( 35%)
- 300 g dark chocolate (60-70% cacao)
Instructions
- For easy removal, grease the bottom of the tart pan with butter or line the bottom with parchment paper. Roll the dough out, transfer to the tart pan, trim the excess dough and prick all over with a fork. Refrigerate for 30 minutes.
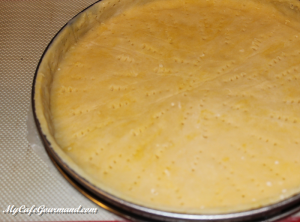
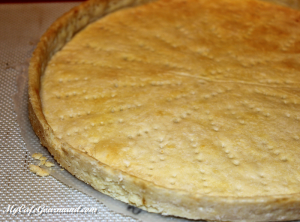
- Preheat oven to 350 degrees F. Place the tart in the oven for 20 minutes, or until golden. Remove from the oven and set aside on the serving plate.
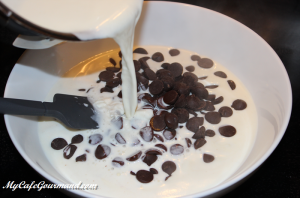
- Meanwhile, bring the heavy cream to a boil, then pour over the chocolate. Let stand for 1-2 minutes. Stir until the mixture becomes smooth and dark.

- Pour chocolate ganache into crust to the top. Cool completely.

- If you made this dessert during the hot summer, it will be the best to refrigerate it. If it's not too hot in your kitchen, let it stand on the counter top at room temperature.

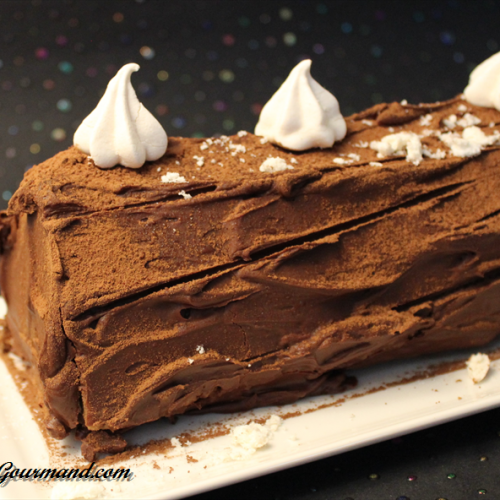
Chocolate Yule Log (Bûche de Noël)
Chocolate Yule Log (Bûche de Noël) is the French roll cake very popular during the Holiday season. This is a delicious version of Yule Log you can make at home using very simple ingredients you can find in every store.
Chocolate Yule Log (Bûche de Noël)
Ingredients
Sugar syrup
- 150 g sugar
- 300 ml water
Chocolate ganache
- 200 ml heavy whipping cream ( 35%)
- 200 g dark chocolate (60-70% cacao)
- 15 g unsalted butter
Biscuit
- 4 eggs (at room temperature)
- 120 g sugar
- 120 g all purpose flour
- 1 Tbsp cocoa powder
Chantilly cream
- 250 ml heavy whipping cream ( 35%) very cold
- 100 g mascarpone cheese
- 1.25 Tbsp sugar
Decoration
- Few meringues, pieces of chocolat
Instructions
Sugar syrup
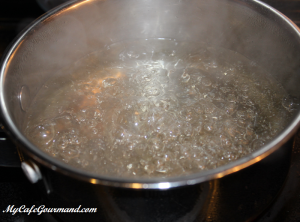
- In a small pot, bring cold water and sugar to the boil. Keep boiling for a few minutes, stir constantly until the sugar dissolves completely. Remove the pan from the heat and let cool down. When the syrup is cold, you may add vanilla or the Triple Sec liqueur (optional).
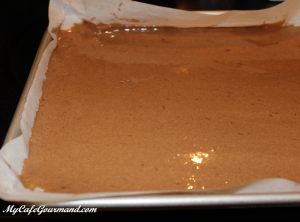
Biscuit
- Preheat oven to 380 degrees F (180°C). Line a baking sheet with parchment paper.
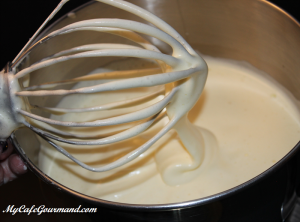
- Using an electric mixer, beat eggs and sugar until the mixture becomes thick, fluffy, and triples in volume.
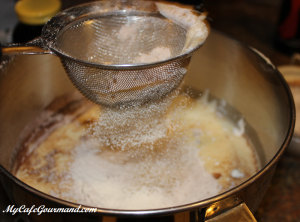
- Using a spatula, gently fold in flour and cocoa powder.
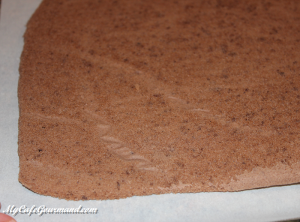
- Spread the batter evenly in thin layer into the prepared baking sheet. Bake for 7 to 8 minutes in the preheated oven until a toothpick inserted in center of biscuit comes out clean.
- Turn upside down onto clean kitchen towel and carefully remove parchment paper. Let cool down.
Chocolate ganache
- Boil the heavy whipping cream. Pour the boiling cream over the dark chocolate. Wait for one minute.
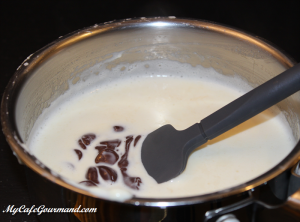
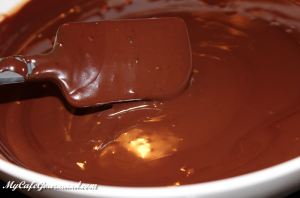
- Then mix it until the mixture is smooth.
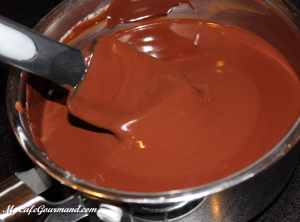
- Add butter and mix until this is fully dissolved.

- Let cool the ganache for about 30 minutes in the fridge. Mix and check frequently: the ganache is ready when it’s not anymore liquid and has a spreadable texture.
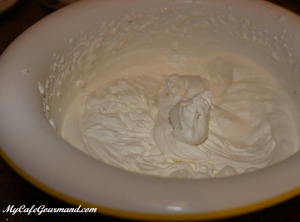
Chantilly cream
- Beat together very cold heavy cream and cold mascarpone cheese until this is whipped. Keep gradually adding sugar.
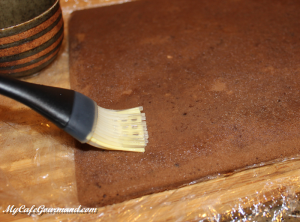
Assemblage
- Paint the biscuit with sugar syrup.
- Spread the chantilly cream evenly over the biscuit.
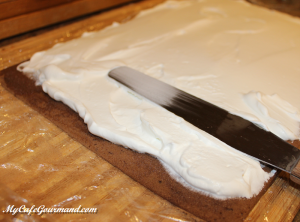
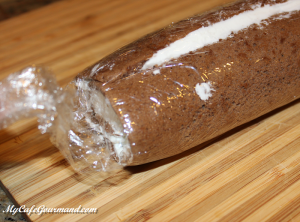
- Roll up firmly.
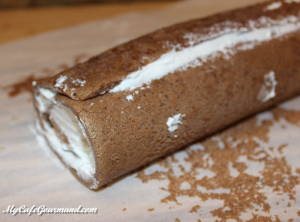
- Tightly cover with plastic wrap, and keep in the fridge until chocolate ganache is ready.
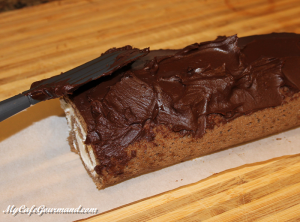
- Remove the plastic wrap. Spread the ganache over the cake. Using a fork make lines to look like a log. Transfer the cake to a serving platter and let stand in the fridge for a night or at least 3 hours.
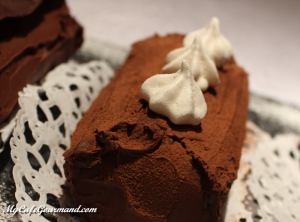
- Before serving, dust with cacao cocoa powder and decorate with meringues or pieces of chocolate.
Notes
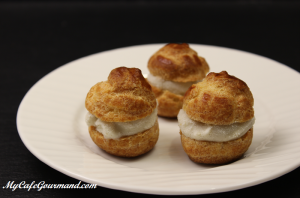
Profiteroles With Vanilla Ice Cream And Chocolate Sauce
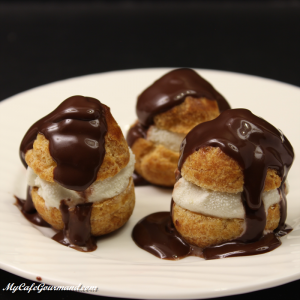
Profiteroles – French cream puffs filled with vanilla ice cream and topped with chocolate sauce. Chocolate sauce on this profiteroles is the “live jazz”. Don’t let the long recipe scare you, it is very easy and worth all the time involved. It is a great dessert you can impress your family and friends with.
Profiteroles With Vanilla Ice Cream And Chocolate Sauce
Ingredients
Dough
- 200 ml water
- 1 pinch salt
- 100 g butter
- 120 g sifted flour
- 3-4 eggs
Filling
- 800 g chocolate or vanilla ice cream
Chocolate sauce
- 250 ml milk or heavy cream
- 300 g dark chocolate (60% cacao)
Instructions
The dough
- Preheat oven to 390 degrees F. Line 2 baking sheets with parchment paper.
- In a medium pot, add water, butter and salt. Bring to a boil and remove from the heat.
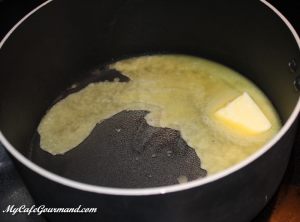
- Add sifted flour and mix well.
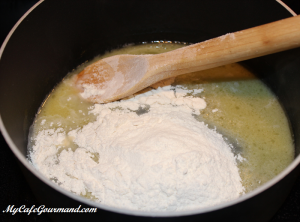
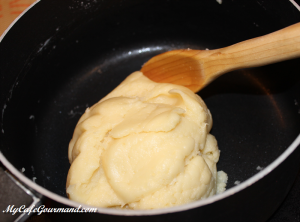
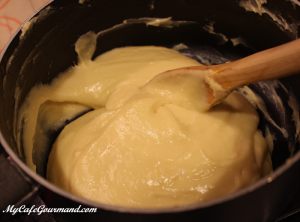
- Mix until the dough comes away from the walls and forms into a ball.
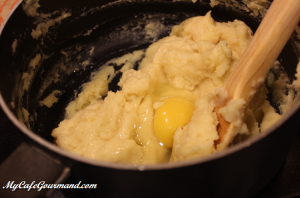
- Add the eggs, one by one and mix well. (If the eggs are large, use only 3 eggs.)
- The dough should become smooth and shiny. Return saucepan back on the heat and keep mixing for about 30-50 seconds, to dry out the moisture. Remove from the heat.
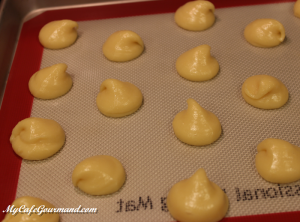
- Transfer the dough to a piping bag to pipe specific shapes (size of the walnut is the best). Space the puffs slightly apart on the baking sheet, because the dough will rise.
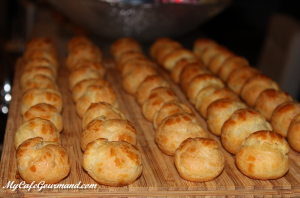
- Bake for about 20 minutes or until the puffs are puffed and golden brown in color. Do not open the oven while baking. Remove from the oven, let it cool completely and carefully transfer to a flat surface.
Filling
- Cut puffs in half. Place one small scoop of ice cream ball on the bottom of each puff.
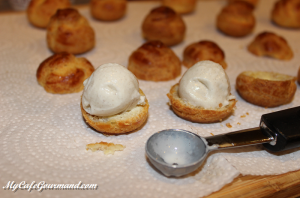
- Replace the top. As soon as you done, place them in the freezer, until they are ready to be served.
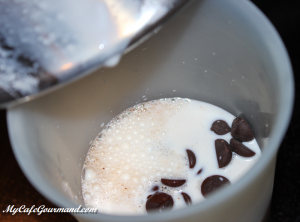
Chocolate souce
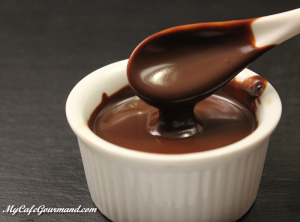
- In a small, saucepan bring milk to boil, remove from the heat and pour the liquid over the chocolate. Allow it to sit for 1 minute.
- Mix it until the mixture is smooth.
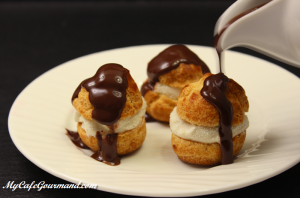
- Remove the profiteroles from the freezer. Arrange 3 puffs per plate. Drizzle each serving with chocolate sauce and Voilà! 😉 Bon appetite.
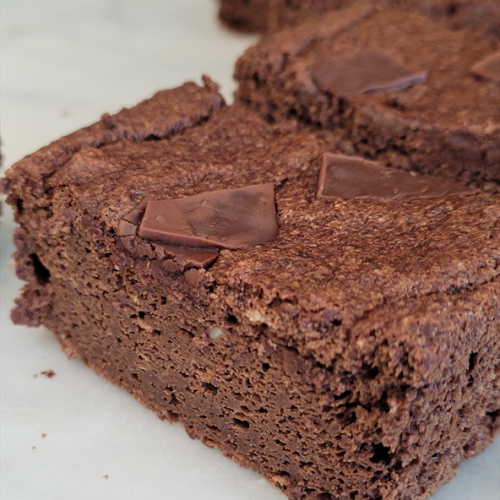
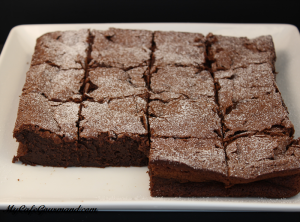
Chocolate cake without flour, sugar, butter and dairy products
This is must-try chocolate cake without flour, sugar, butter and dairy products. So you can allow yourself to eat the second (and third) piece. 😉 All chocolate lovers will definitely fell in love with dessert.
This is translation of original french recipe 𝙈𝙤𝙚𝙡𝙡𝙚𝙪𝙭 𝙡é𝙜𝙚𝙧 𝙖𝙪 𝙘𝙝𝙤𝙘𝙤𝙡𝙖𝙩 @recettes_simplyfit without any modification: delicate and very chocolate dessert.
You like it? Check my other gluten-free recipes.
Chocolate cake without flour, sugar, butter and dairy products
Ingredients
- 150 g chocolate (60% cocoa)
- 180 g applesauce without sugar
- 40 g starch (maizena)
- 2 tsp baking powder dough
- 3 eggs (separate yolks from whites)
- 1 a pinch of salt
Instructions
- Preheat the oven to 180C, (390F) and line a baking dish with parchment paper or use a silicone mold.
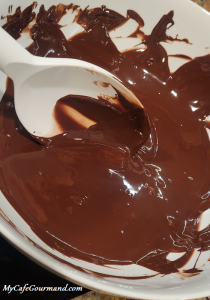
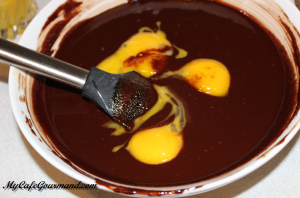
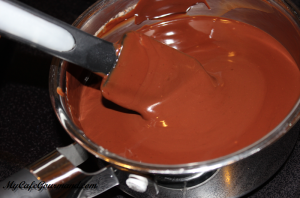
- Melt the chocolate in a water bath or a microwave.
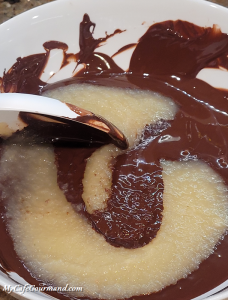
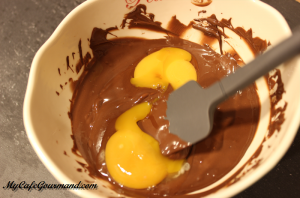
- Add applesauce to melted chocolate. Mix.
- Add yolks and mix well.

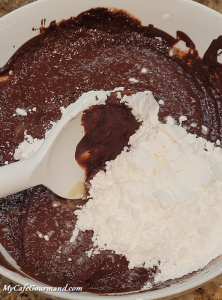
- Add starch and baking powder. Mix.
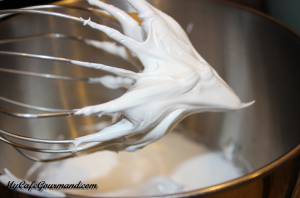
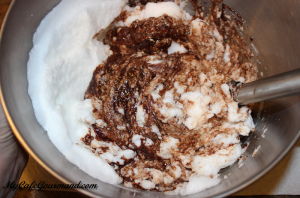
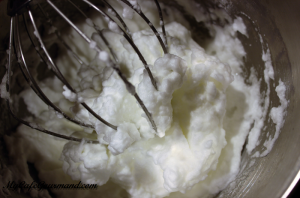
- Beat egg whites until foamy, adding a pinch of salt.
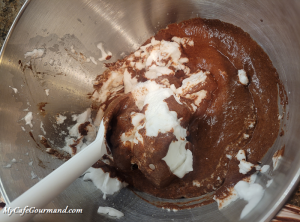
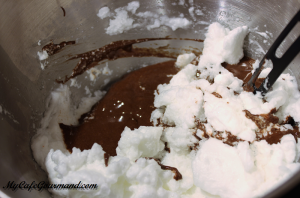
- Gently fold the beaten egg whites into the chocolate mixture.
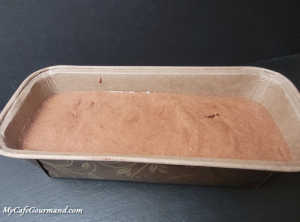
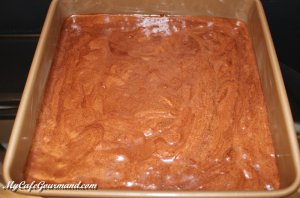
- Pour the batter into a baking dish.
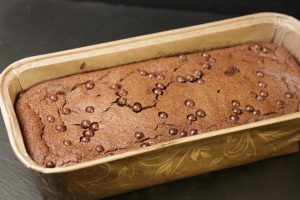
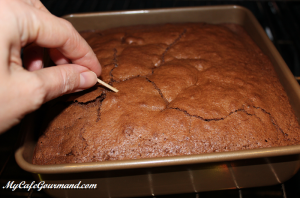
- Bake in preheated oven for approximately 25 minutes. Baking time depends on the oven and shape. Check readiness with a knife blade.
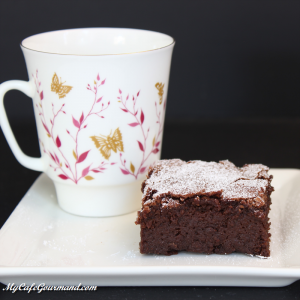
Flourless chocolate cake
The flourless chocolate cake is a delicate gluten free dessert that melts in your mouth. The recipe is absolutely simple without any flour! All you need is chocolate, butter, sugar and eggs.
Flourless chocolate cake
Ingredients
- 200 g chocolate chips (60%)
- 150 g unsalted butter
- 200 g sugar
- 6 eggs
- 2 pinches salt
- 1/4 tbsp powdered sugar
Instructions
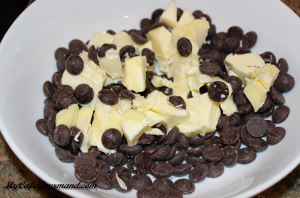
- Melt the chocolate and butter on a water bath or in a microwave. Mix well.
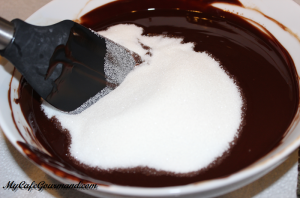
- Add sugar and mix well.
- Separate yolks from egg whites.
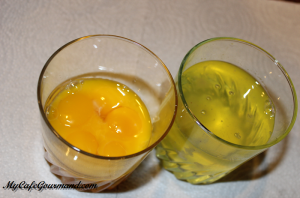
- Add yolks into the melted chocolate and mix.
- Add salt to the egg whites, and beat into a thick foam.
- Using a spatula carefully fold in whipped egg whites into chocolate mass.
- Preheat oven to 380 degrees F. Generously butter a baking pan and pour the batter into the cake pan.
- Bake in in the preheated oven for about 25 minutes. The exact time of baking depends on the oven, size and quality of the baking pan. Once the the cake is moist and not liquid inside (it’s not a lava cake) – it’s ready. Please, don’t overcook!
- Let the cake cool then carefully remove it from the pan. Dust it with powdered sugar and serve.
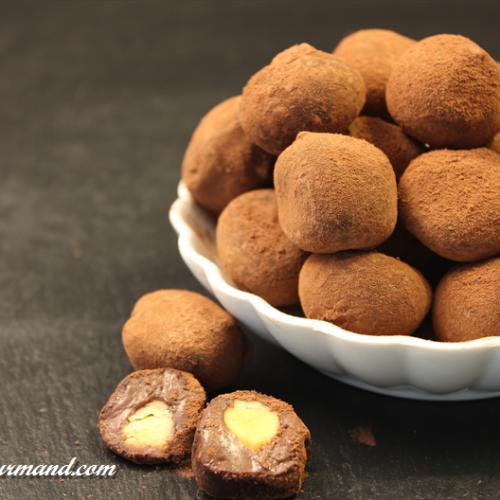
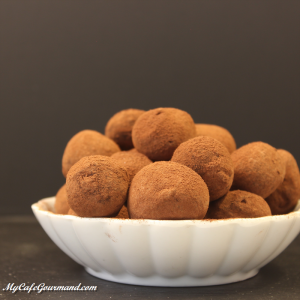
Chocolate Hazelnut Truffles
Chocolate Hazelnut Truffles is one delicacy that no one can refuse. The roasted hazelnut compliments the rich cacao powder. Store the truffles in container in the fridge for up to 5 days, but they will disappear from the fridge a lot faster, trust me on this.
Chocolat Hazelnut Truffles
Ingredients
- 150 ml heavy whipping cream
- 200 g dark chocolate (60-70% cacao)
- 50 g unsalted butter
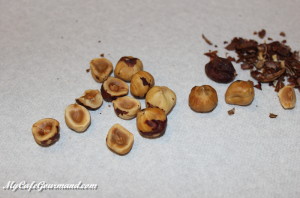
- 30 g hazelnuts
- 2 Tbsp cacao powder
Instructions
- Bring the heavy cream to a boil. Pour the cream over the chocolate chips. Wait 1-2 minutes until chocolate melts.
- Add butter and whisk until smooth. Place it in the frizzer for about 2 hours, until firm enough to roll.
- Preheat oven to 350 degrees F. Spread the nuts in an even layer on the baking sheet, and roast it for 10-15 minutes. Stirring every 3 minutes. Check the nuts. You are looking for the color to be a few shades darker. When the nuts are browned and smell nutty, remove from the oven and transfer onto a plate. Cool it and clean from the flakes. I like my truffles extra tiny, so I cut each hazelnut in half. You don't have to cut them if you are making large truffles.
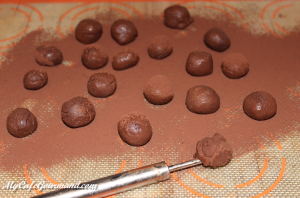
- Use a teaspoon or small cookie scoop to portion the ganache, hide one hazelnut inside each piece, roll the balls between hands, until smooth and place on a plate.

- Roll in cacao powder.
- Refrigerate for at least 1 hour.
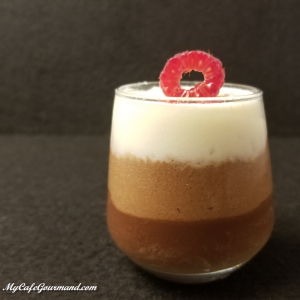
Three Layer Chocolate Mousse
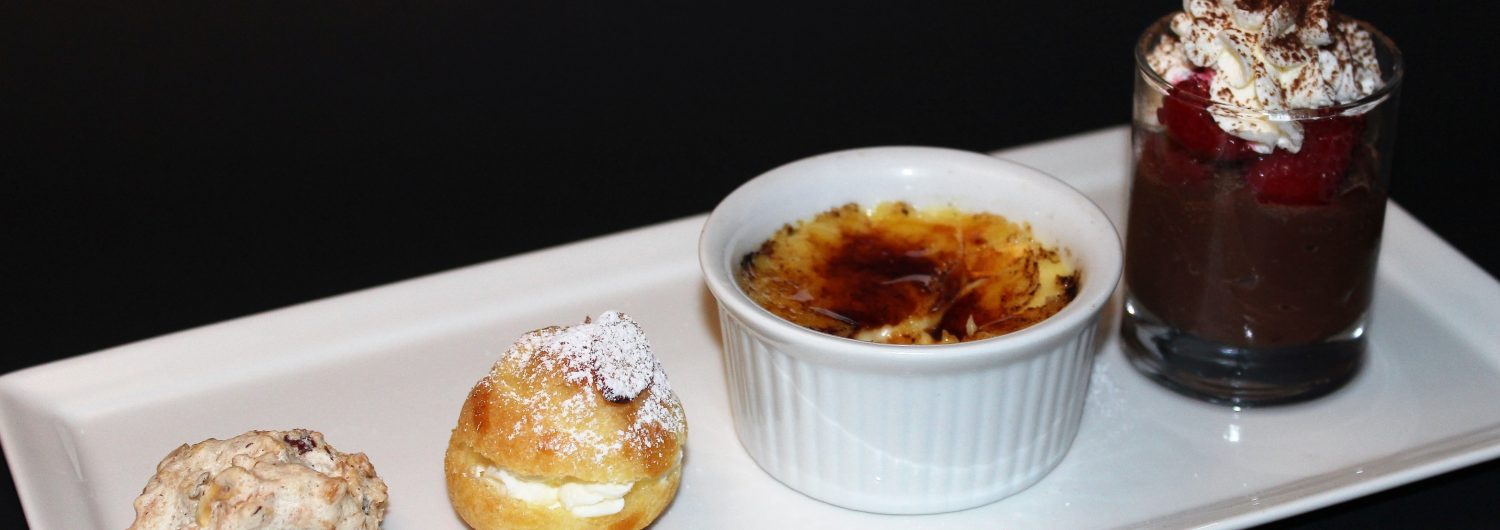
Dark chocolate, milk chocolate, white chocolate… Each layer has different taste and texture. You can use any size glasses you desire. And of course, as always, I choose mini portions. Ideal for a Cafe Gourmand.
Three layer chocolate mousse
Ingredients
Dark chocolate ganache
- 120 ml heavy whipping cream
- 100 g dark chocolate
Milk chocolate mousse
- 100 g milk chocolate
- 2 eggs
- 1 pinch salt
White chocolate mousse
- 150 ml heavy whipping cream
- 100 g white chocolate
For garnishing
- 6-8 fresh raspberries
Instructions
Dark chocolate ganache
- In a small pan, boil the heavy whipping cream. Pour the boiling cream over the dark chocolate. Wait for one minute and mix it until the mixture is smooth.
- Divide dark chocolate ganache among six glasses. Refrigerate for one hour.
Milk chocolate mousse
- Separate egg yolks from the egg whites.
- Melt milk chocolate in microwave until the chocolate is completely melted. Add egg yolks in melted chocolate and mix well.
- Whisk egg whites with salt until stiff.
- Carefully fold in the egg whites into chocolate.
- Remove glasses from the fridge, spoon the mousse over the chocolate gonache and chill for another hour.
White chocolate mousse
- Bring the heavy whipping cream to a boil. Pour the hot cream over the white chocolate. Wait 1-2 minutes until white chocolate melts.
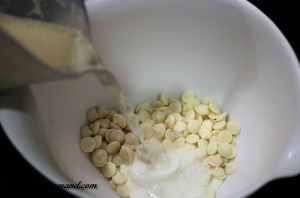
- Whisk until smooth. Place white chocolate in the fridge for about 45 minutes. Chocolate should chill completely but at the same time still liquid.
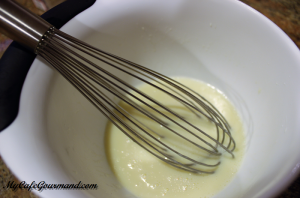
- Beat the chilled chocolate until soft foam.

- Using piping bag or small spoon, spread the mousse into the glasses.
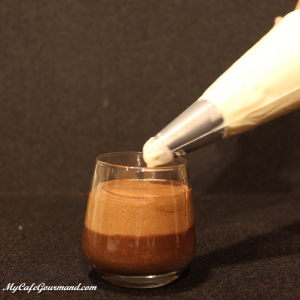
- Refrigerate your dessert for 4-6 hours.
- Before serving, garnish each glass with fresh berries. If the portion is mini, you can cut raspberries into 2 pieces.
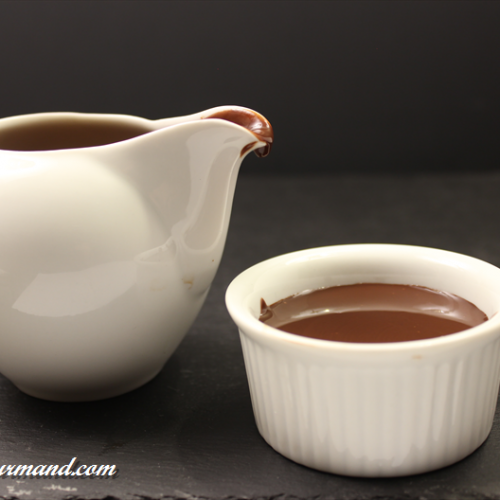
Chocolate Sauce
After trying to make this chocolate sauce at home, you will never go back to store-bought syrup again. No weird preservatives or ingredients like the ones in the store. You will need two ingredients to make this delicious sauce.
Watch this quick video to make your mouth water.
Chocolate sauce
Ingredients
- 125 ml milk or heavy cream
- 150 g dark chocolate (60-70%)
Instructions
- In a small saucepan bring milk (or cream) to boil. Remove from the heat and pour the liquid over the chocolate. Allow it to sit for 1 minute. Whisk to combine.
- The sauce will stay loose while its hot. But you can always reheat it. Spoon the chocolate mixture into a heatproof bowl set over a saucepan of simmering water. Heat the sauce for about 3-4 minutes stirring constantly or until it has become liquid again.
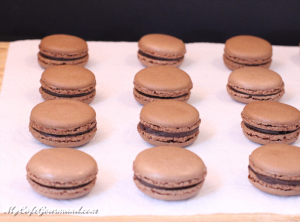
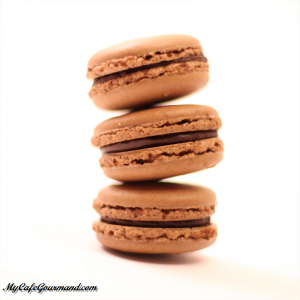
French Chocolate Macarons
French Chocolate Мacarons (Macarons au chocolat) – elegant french cookie made with almond flour. There are hundreds of different fillings, but the chocolate ganache is the most popular. This recipe is simple enough to make, but they sometimes crack or have imperfect “feet”. Don’t worry they’re still delicious, and don’t give up, only practice will make them flawless.
Perfect for a cafe gourmand!
French Chocolate Macarons
Ingredients
Almond cookies
- 75 g almond flour
- 110 g powdered sugar
- 1 Tbsp cacao powder
- 2 large egg whites (about 70 g)
- 1 pinch of salt
- 50 g sugar
Chocolate ganache
- 100 ml heavy whipping cream ( 35%)
- 90 g chocolate chips (60%)
- 1 tsp sour cream
Instructions
Almond cookies
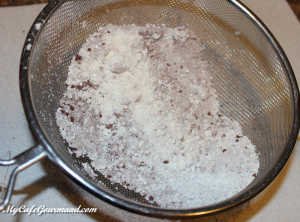
- Mix almond flour and powdered sugar in food processor (20-30 seconds).
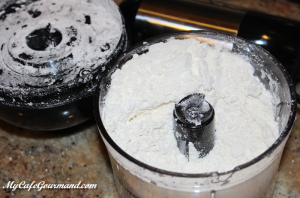
- Add cacao powder to almond mixture and pass through a fine sieve.
- Add a pinch of salt to egg whites and beat until foamy.
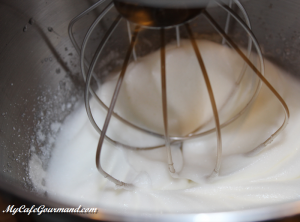
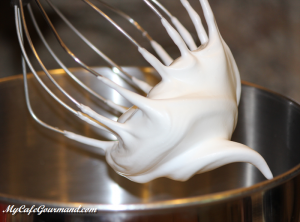
- Slowly add sugar and beat until firm peaks form.
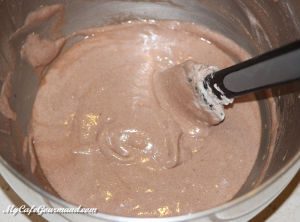
- Fold the dry mixture into the meringue, keep folding the batter until it reaches a honey-like consistency.
- Transfer the batter to the pastry bag.
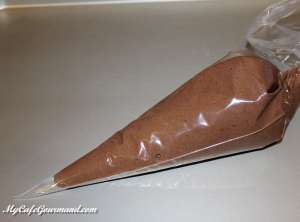
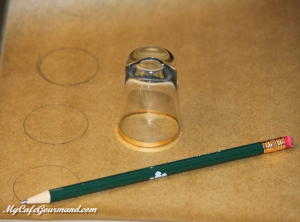
- Line two baking sheets with parchment paper. To make all macarons look the same size, print out a 2.5 cm macaron template, place under parchment paper and trace the outlines. You can also use a silicone mat.
- Holding the bag vertically and close to the baking sheet, pipe circles. Tap the baking sheet a few times on the counter to release any air bubbles, and to make them look round. Let them sit at room temperature for 30-45 minutes, until skin forms on the shells.
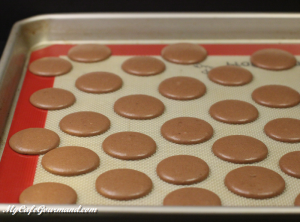
- Preheat the oven to 320 degrees F. Bake for 15 minutes (one sheet at a time). Each oven temperature is different so keep an eye on them. Allow the cookies to cool completely on the baking sheet before removing them. Pair the cookies up according to size.
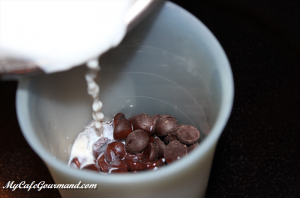
Chocolate ganache
- Add heavy cream to a small saucepan and heat on high heat. Pour the cream over the chocolate chips. Allow to stand for 1 minute to soften the chocolate.
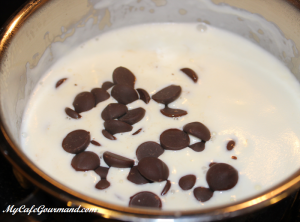
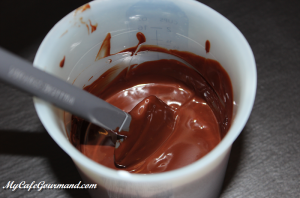
- Stir briskly until smooth.
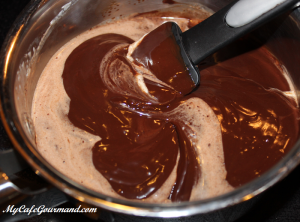
- Add the sour cream and stir again.
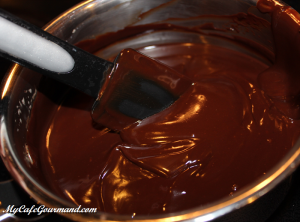
- Transfer ganache to the pastry bag or small ziplock bag. Allow to cool for about 2 hours at room temperature or 30 minutes in the refrigerator.
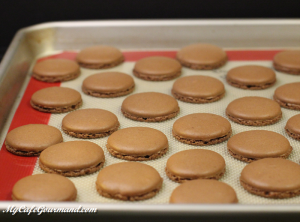
- Pipe the ganache filling in the middle of one shell (about 1 tsp).
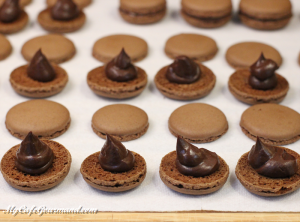
- Sandwich it with empty shell. Store them in the refrigerator for at least 6 hours before serving. They’ll taste even better next day. 😉