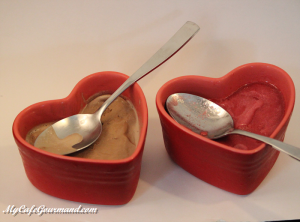
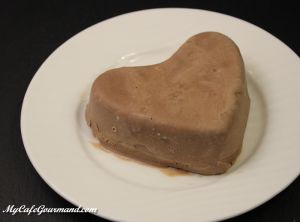
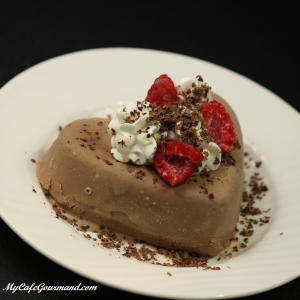
This heart-shaped Ice Cream will please your significant other without having to spend the whole day cooking. Ice cream in the shape of a heart served with a cloud of whipping cream dusted with grated chocolate. This icy dessert will melt hearts!

Heart-shaped Ice Cream
Ingredients
- 200 g chocolate ice cream (or another your favorite ice cream/sorbet )
- 50 ml heavy whipping cream ( 35%) very cold
- 1 tsp sugar
- Grated chocolate
- Few red berries (blueberry, raspberry…)
Instructions
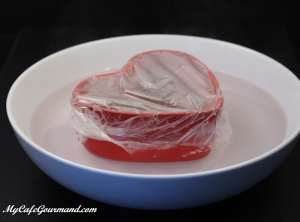
- Take the ice cream out of the freezer and leave it out for 5 minutes to make it softer. Put the ice cream in a heart shaped mold. Cover with plastic wrap and put it back in the freezer for around 45 minutes.
- Submerge the mold under hot water for a couple seconds (wipe the water off of the mold with a towel so that the serving plate does not get wet).
- Remove the ice cream from the mold onto a plate. Put the plate into the freezer.
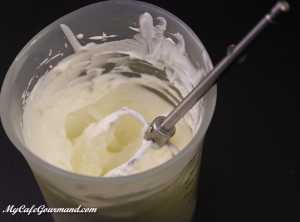
- Whip the heavy cream with the sugar until fluffy. Don’t over beat.
- When serving, put the whipping cream on the heart. Decorate with nuts, grated chocolate, and red berries. Serve right away.
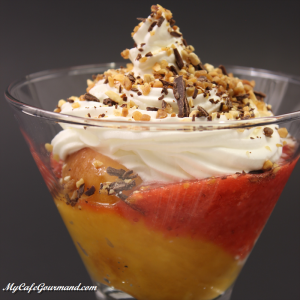
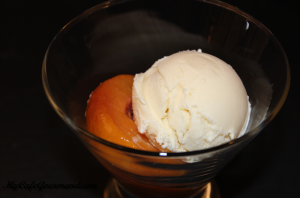
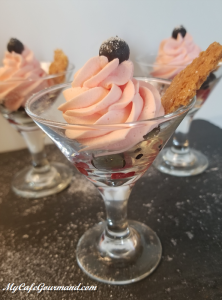
Peach Melba
This is my version of a classical dessert “Peach Melba”. You just need roasted peaches, a red berry sauce and an exquisite whipped cream.
Peach Melba
Ingredients
- 3 peaches
- 1 Tbsp brown sugar (or sugar)
- 250 g berries (raspberries, strawberries, blackberries)…)
- 200 ml heavy whipping cream ( 35%) very cold
- 2 tsp sugar
- 1/2 l vanilla ice cream
- Some dark chocolate
- Some sliced almonds
Instructions
- Preheat oven to 390 degrees F. Line one baking sheet with parchment paper.
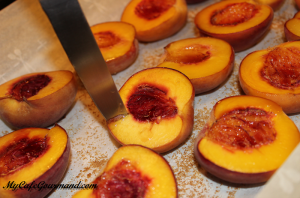
- Cut the peaches in half, and remove the stones. Place the peach halves on the baking sheet. Sprinkle with brown sugar.
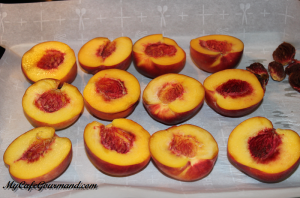
- Bake in the oven about 35 minutes until the peaches are tender. Remove from the oven, let them cool down completely, then carefully peel the skin.
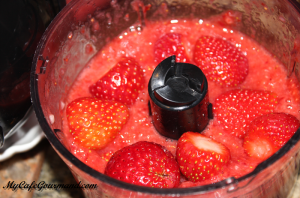
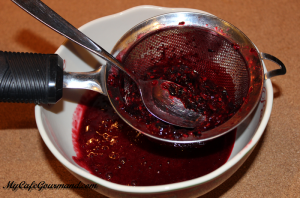
- Rinse and drain fresh berries and puree them until smooth. Pass the puree through a fine sieve to remove all tiny seeds.
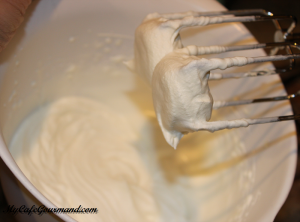
- Whip the heavy cream with the sugar until fluffy. Don’t over beat.
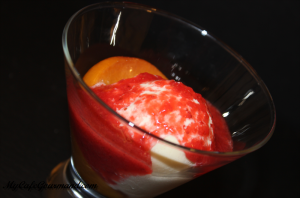
- In each glass, put one half of peach and one ball of vanilla ice cream.
- Pour 2 tablespoons of berries puree.
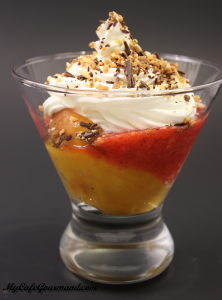
- Add the whipped cream and finish with chocolate crumbs and sliced almonds. Serve right away.
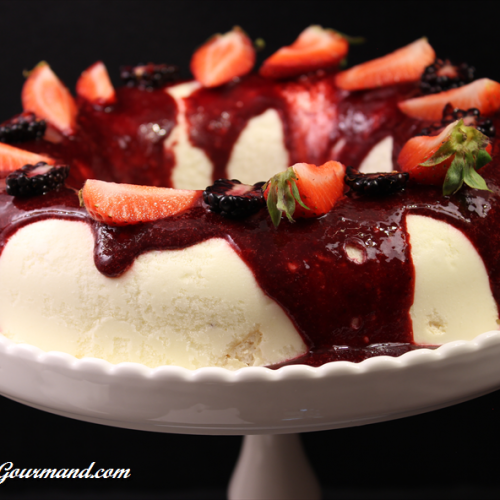
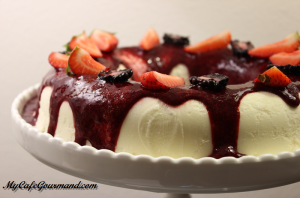
Ice Cream Cake Iceberg
I don’t mean to brag, but as far as homemade ice cream cake recipes go, this one is the winner. The red berry coulis topping is the perfect balance between sweet and sour. This No-Bake Ice Cream Cake Iceberg is the ideal dessert to serve at your next party on a hot summer day.
Ice Cream Cake Iceberg
Ingredients
- 4 eggs
- 100 g granulated sugar (50 + 50)
- 1-2 Tbsp vanilla extract
- 300 ml sour cream
- 100 ml heavy whipping cream ( 35%)
- 1 pinch salt
- 300 g red berries (blueberry, huckleberry, boysenberry, raspberry…) fresh or frozen
- Some Fresh berries for garnish
Instructions
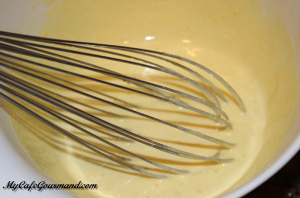
- Separate egg yolks from egg whites. Whisk egg yolks with sugar (50 g).
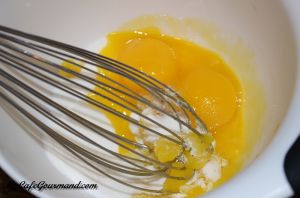
- When the sugar is dissolved add vanilla extract and mix well.
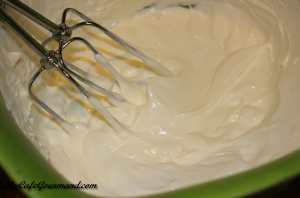
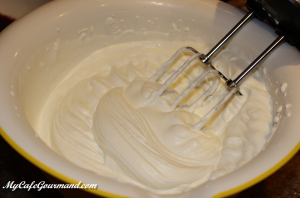
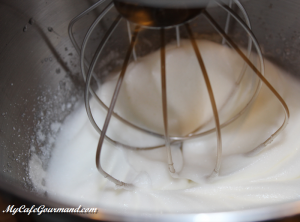
- In a mixer bowl, whisk together very cold sour cream and heavy cream together until fluffy. Add sugar and continue whisking until firm (don’t over whip).
- Using a spatula, combine egg yolks with whipped cream together.

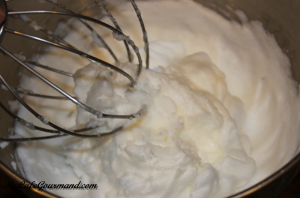
- In a separate bowl, beat the egg whites with a pinch of salt until stiff.
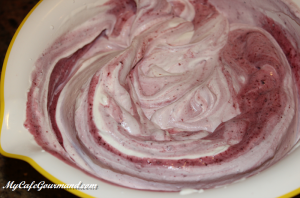
- With a spatula, carefully combine egg whites with whipped cream.
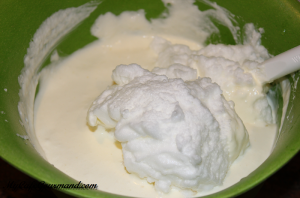
- You should get a nice fluffy cream.
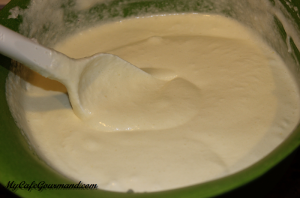
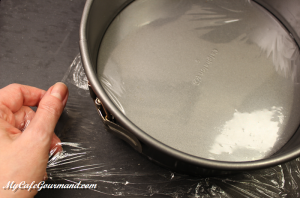
- Spread the cream evenly into a silicone pan or salad bowl.
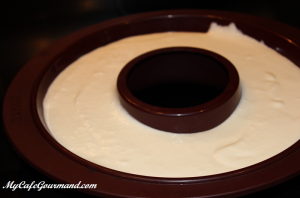
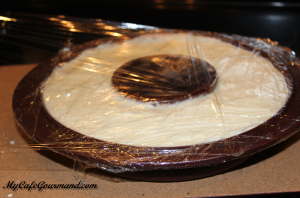
- Cover with plastic wrap and refrigerate for 6 hours or overnight.
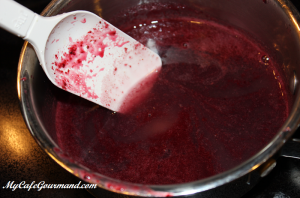
- Rinse and drain fresh berries and puree until smooth. If you are using a frozen berries, place them in a leak-proof container and set the container in cold water for 10-15 minutes, then puree them.
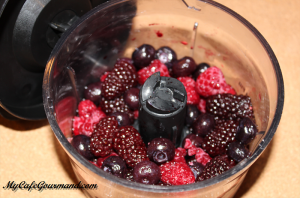
- Pass the puree through a fine sieve to remove all tiny seeds. Coulis is ready.
- Remove it from the silicone pan and return it back to freezer until serving. (If you used a salad bowl, place it into hot water for a couple seconds). Prepare fresh berries for garnish.
- Right before serving, pour the coulis over the ice cream cake and garnish with fresh berries.
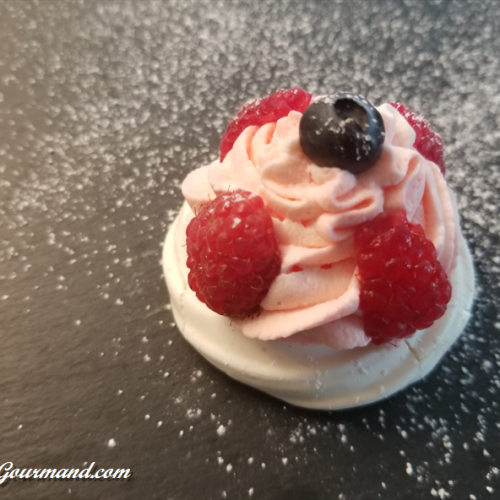
Mini Pavlova
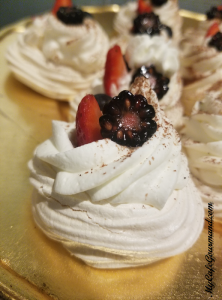
Pavlova is a dessert, named after the Russian ballerina Anna Pavlova, who toured Australia and New Zealand in 1926. It is a meringue dessert with crisp crust and soft light inside, topped with cream and fresh berries.
You can make meringue shells ahead of time and freeze them. I usually make the cream the same day I want to serve my Mini Pavlova. And as always this dessert is a perfect mini dessert for my Cafe Gourmand.
Mini Pavlova dessert
Ingredients
Meringue
- 4 egg whites (room temperature)
- 1 pinch of salt
- 220 g confectioner’s sugar
Cream
- 200 ml heavy whipping cream ( 35%) very cold
- 100 g mascarpone cheese
- 1,5 Tbsp sugar
- 1 drop red food coloring (optional)
- Fresh berries raspberries, strawberries, blackberries, blueberries…
Instructions
Meringue
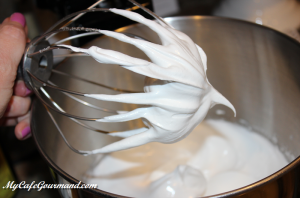
- Using mixer, begin beating your egg whites and salt on a low speed, steadily increasing up to medium high.
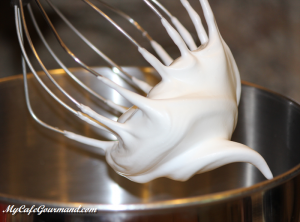
- While beating on a medium speed, slowly add the confectioner’s sugar, about 1-2 Tbsp at a time. Once all the sugar is added, keep beating until the egg whites hold stiff peaks.
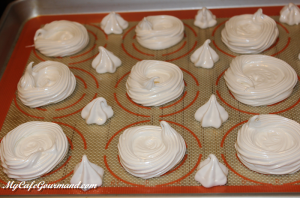
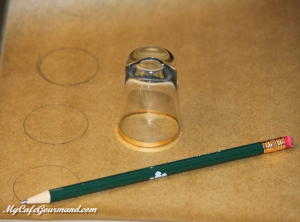
- Preheat oven to 230 degrees F. Draw circles of approximately 4-8 cm diameter (you can use a pint glass as a guide) on each of the parchment lined sheets.
- Spoon meringue into piping bag, fitted with 3/4 inch tip. Pipe meringue to cover circles on prepared baking sheet. Pipe two more rings of meringues on top of outer edge to form walls of Pavlovas.
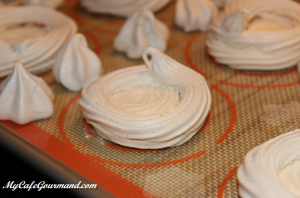
- Bake in center of oven until dry and crisp, about 1 1/2 hours.
- Turn off the oven and let the meringues completely cool in the oven. Once cooled, you can top them with whipped cream and berries.
Filling
- With mixer, beat together very cold heavy cream and mascarpone cheese, until whipped gradually adding sugar. Add food coloring. Don’t overbeat the cream, or you will end up with butter.
- Spoon cream into piping bag.
- Right before serving, pipe frosting on the pavlovas and top with fresh berries.
- If you have some leftovers cream, you can pipe it into a small glass and garnish with some fresh berries.
Notes
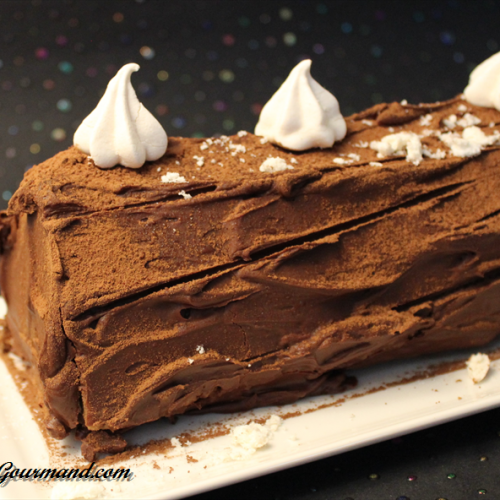
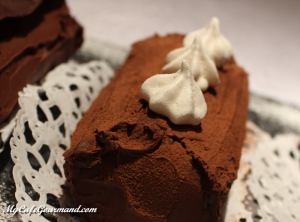
Chocolate Yule Log (Bûche de Noël)
Chocolate Yule Log (Bûche de Noël) is the French roll cake very popular during the Holiday season. This is a delicious version of Yule Log you can make at home using very simple ingredients you can find in every store.
Chocolate Yule Log (Bûche de Noël)
Ingredients
Sugar syrup
- 150 g sugar
- 300 ml water
Chocolate ganache
- 200 ml heavy whipping cream ( 35%)
- 200 g dark chocolate (60-70% cacao)
- 15 g unsalted butter
Biscuit
- 4 eggs (at room temperature)
- 120 g sugar
- 120 g all purpose flour
- 1 Tbsp cocoa powder
Chantilly cream
- 250 ml heavy whipping cream ( 35%) very cold
- 45 g mascarpone cheese
- 1.25 Tbsp sugar
Decoration
- Few meringues, pieces of chocolat
Instructions
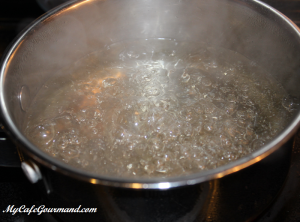
Sugar syrup
- In a small pot, bring cold water and sugar to the boil. Keep boiling for a few minutes, stir constantly until the sugar dissolves completely. Remove the pan from the heat and let cool down. When the syrup is cold, you may add vanilla or the Triple Sec liqueur (optional).
Biscuit
- Preheat oven to 380 degrees F (180°C). Line a baking sheet with parchment paper.
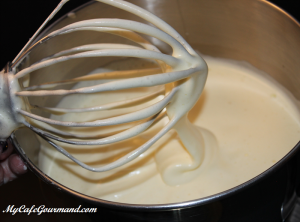
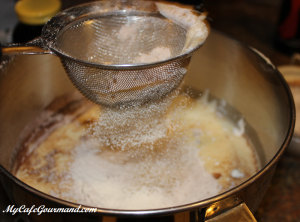
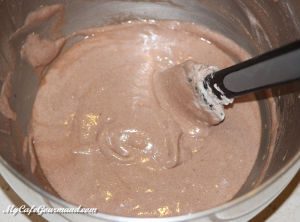
- Using an electric mixer, beat eggs and sugar until the mixture becomes thick, fluffy, and triples in volume.
- Using a spatula, gently fold in flour and cocoa powder.
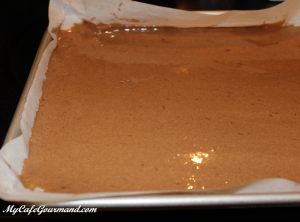
- Spread the batter evenly in thin layer into the prepared baking sheet. Bake for 7 to 8 minutes in the preheated oven until a toothpick inserted in center of biscuit comes out clean.
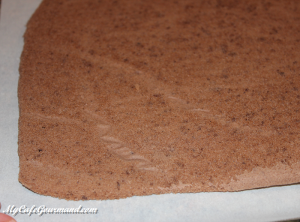
- Turn upside down onto clean kitchen towel and carefully remove parchment paper. Let cool down.
Chocolate ganache
- Boil the heavy whipping cream. Pour the boiling cream over the dark chocolate. Wait for one minute.
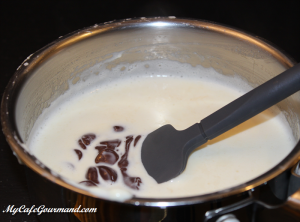
- Then mix it until the mixture is smooth.
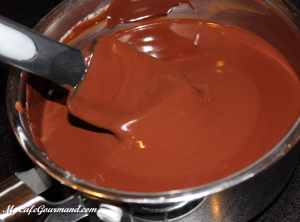
- Add butter and mix until this is fully dissolved.

- Let cool the ganache for about 30 minutes in the fridge. Mix and check frequently: the ganache is ready when it’s not anymore liquid and has a spreadable texture.
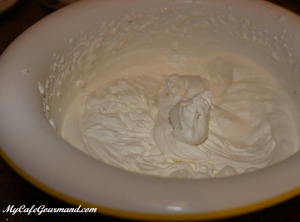
Chantilly cream
- Beat together very cold heavy cream and cold mascarpone cheese until this is whipped. Keep gradually adding sugar.
Assemblage
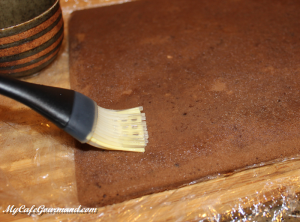
- Paint the biscuit with sugar syrup.
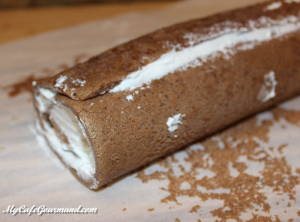
- Spread the chantilly cream evenly over the biscuit.
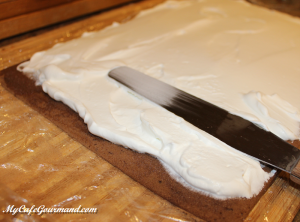
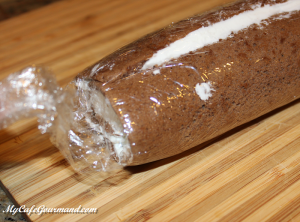
- Roll up firmly.
- Tightly cover with plastic wrap, and keep in the fridge until chocolate ganache is ready.
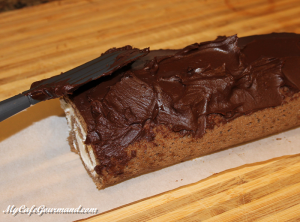
- Remove the plastic wrap. Spread the ganache over the cake. Using a fork make lines to look like a log. Transfer the cake to a serving platter and let stand in the fridge for a night or at least 3 hours.
- Before serving, dust with cacao cocoa powder and decorate with meringues or pieces of chocolate.
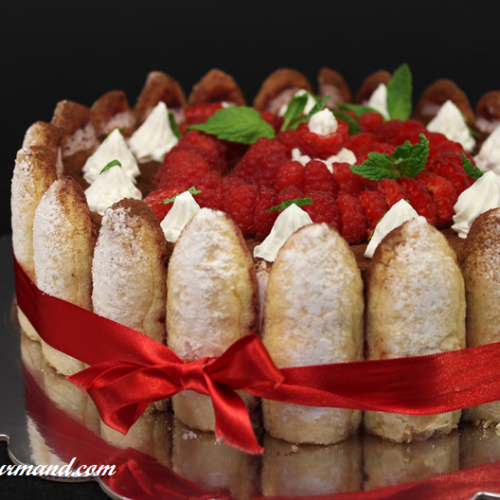
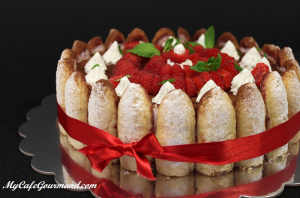
Berry Charlotte Cake
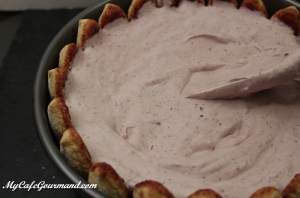
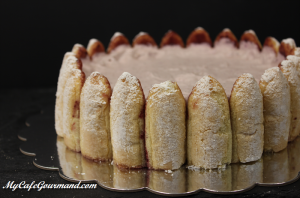
This is a famous French dessert made of ladyfinger biscuits, light mousse and topped with fresh fruits. My Berry Charlotte Cake is very easy to make, although it seems like not. The only downside to a charlotte is that it is not always easy to assemble the ladyfinger in the spring form.
Berry Charlotte Cake
Ingredients
- 500 g berries raspberries, strawberries or blackberries…
- 50-70 g sugar
- 500 ml heavy whipping cream ( 35%) very cold
- 8 g gelatin
- 24 Ladyfingers
For decoration
- 1 Tbsp cocoa powder
- Fresh berries
- Fresh mint optional
- whipped cream optional
Instructions
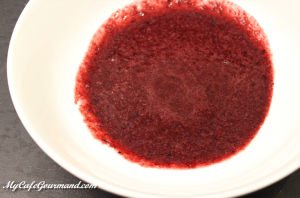
- Rinse and drain berries, add sugar and puree until smooth.

- Pass the puree through a fine sieve, to remove all tiny seeds.
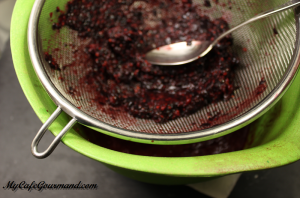
- You will need about 1/2 cup of puree for dipping the ladyfingers. The rest pour into the saucepan.
- Add 4-5 Tbsp of cold water to gelatin, and set it aside.
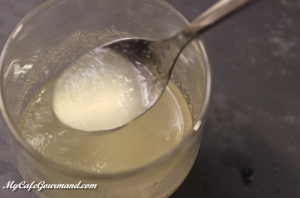
- Place the saucepan with berry mixture over medium heat on the stove (don’t boil), remove from the stove and add gelatin. Whisk well until the gelatin is dissolved. Let it cool to room temperature. …
- Pour the very cold heavy whipping cream into a large bowl and whisk, until the cream reaches the soft peaks stage. Do not over beat!
- Once the berry puree is completely at room temperature, gently fold it into the whipped cream and set it aside.
- Line the inside and walls of a springform pan with parchment paper or plastic wrap. …
- Measure the length you need.
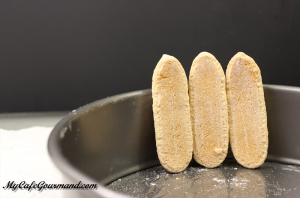
- You can trim off one end of each ladyfinger.
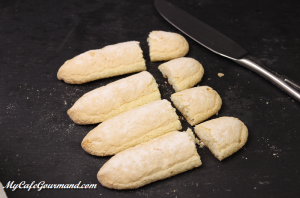
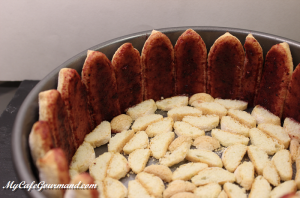
- Dip one side of the ladyfinger in the puree mixture. Let the excess syrup drip off, then line the ladyfingers (dipped side needs to be inside) in a tight ring, cut side down, around the spring form pan.
- If you having trouble fitting the last ladyfinger in, you can cut it in half.
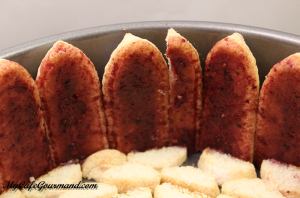
- Pour the berry mousse into the springform. Cover with plastic wrap and refrigerate for at least 6 hours.
- Carefully remove springform walls and plastic wrap. Transfer cake to the plate.
- Dust with cocoa powder.
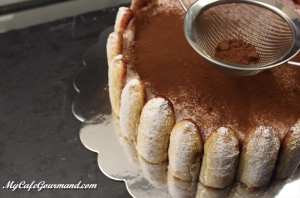
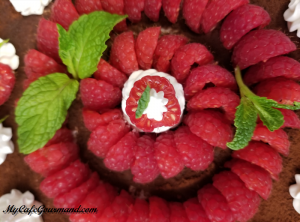
- Garnish with some fresh berries, fresh mint, whipped cream and shredded chocolate.
- You can decorate with ribbon, but don’t forget to remove the ribbon before cutting the cake. 🙂
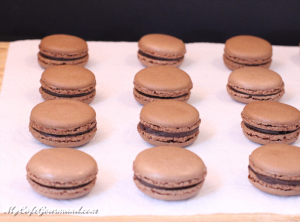
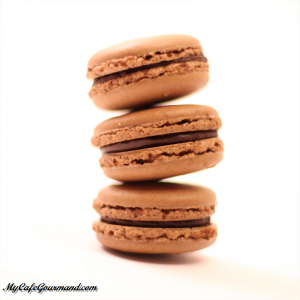
French Chocolate Macarons
French Chocolate Мacarons (Macarons au chocolat) – elegant french cookie made with almond flour. There are hundreds of different fillings, but the chocolate ganache is the most popular. This recipe is simple enough to make, but they sometimes crack or have imperfect “feet”. Don’t worry they’re still delicious, and don’t give up, only practice will make them flawless.
Perfect for a cafe gourmand!
French Chocolate Macarons
Ingredients
Almond cookies
- 75 g almond flour
- 110 g powdered sugar
- 1 Tbsp cacao powder
- 2 large egg whites (about 70 g)
- 1 pinch of salt
- 50 g sugar
Chocolate ganache
- 100 ml heavy whipping cream ( 35%)
- 90 g chocolate chips (60%)
- 1 tsp sour cream
Instructions
Almond cookies
- Mix almond flour and powdered sugar in food processor (20-30 seconds).
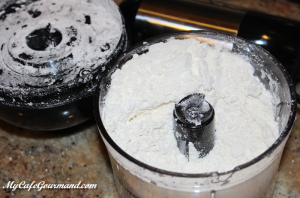
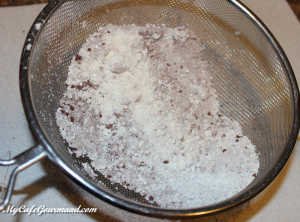
- Add cacao powder to almond mixture and pass through a fine sieve.
- Add a pinch of salt to egg whites and beat until foamy.
- Slowly add sugar and beat until firm peaks form.
- Fold the dry mixture into the meringue, keep folding the batter until it reaches a honey-like consistency.
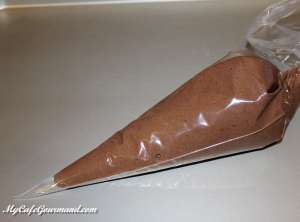
- Transfer the batter to the pastry bag.
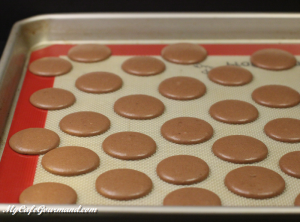
- Line two baking sheets with parchment paper. To make all macarons look the same size, print out a 2.5 cm macaron template, place under parchment paper and trace the outlines. You can also use a silicone mat.
- Holding the bag vertically and close to the baking sheet, pipe circles. Tap the baking sheet a few times on the counter to release any air bubbles, and to make them look round. Let them sit at room temperature for 30-45 minutes, until skin forms on the shells.
- Preheat the oven to 320 degrees F. Bake for 15 minutes (one sheet at a time). Each oven temperature is different so keep an eye on them. Allow the cookies to cool completely on the baking sheet before removing them. Pair the cookies up according to size.
Chocolate ganache
- Add heavy cream to a small saucepan and heat on high heat. Pour the cream over the chocolate chips. Allow to stand for 1 minute to soften the chocolate.
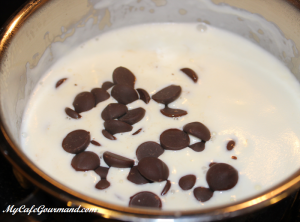
- Stir briskly until smooth.
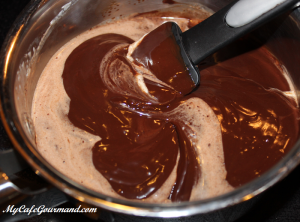
- Add the sour cream and stir again.
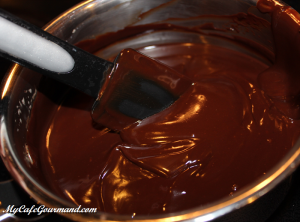
- Transfer ganache to the pastry bag or small ziplock bag. Allow to cool for about 2 hours at room temperature or 30 minutes in the refrigerator.
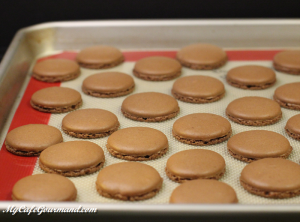
- Pipe the ganache filling in the middle of one shell (about 1 tsp).
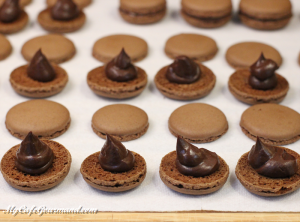
- Sandwich it with empty shell. Store them in the refrigerator for at least 6 hours before serving. They’ll taste even better next day. 😉