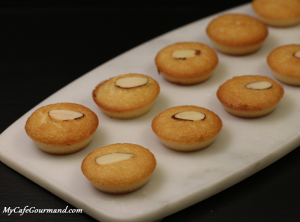
Classic French petit fours made with almond flour and egg whites, baked in small molds shaped like little gold bars. A perfect way to use up leftover egg whites!
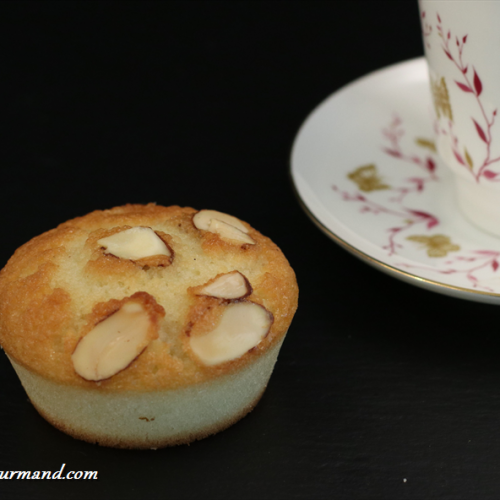
Financiers (French Almond Mini Cakes)
Ingredients
- 60 g almond flour
- 60 g all-purpose flour sifted
- 150 g powdered sugar sifted
- 1 tsp baking powder
- 6 egg whites (about 210 g)
- 1 tsp vanilla bean paste
- 90 g unsalted butter melted
- A bit of sliced almonds (optional, for topping)
Instructions
- Preheat your oven to 220°C (410°F). Grease your baking molds with butter. (Silicone molds do not need to be greased.)
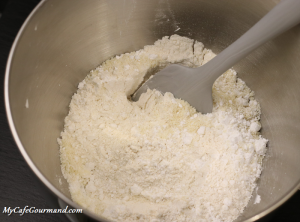
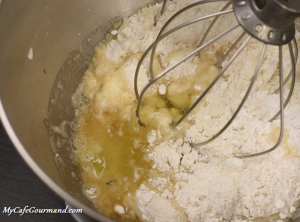
- In a bowl, combine all the dry ingredients: almond flour, all-purpose flour, sifted, powdered sugar, sifted, and baking powder. Mix well.
- Add wet ingredients: 6 egg whites and liquid vanilla extract (or 1 packet vanilla sugar) to the dry mixture. Mix together using a hand mixer until combined.
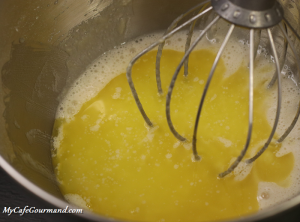
- Add unsalted melted butter, and mix well. The batter will be fairly runny — this is normal.
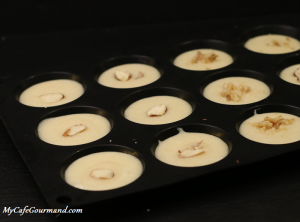
- Pour the batter into the prepared molds. Sprinkle with 1 tablespoons sliced almonds (optional, for topping) if desired.
- Bake in the preheated oven for approximately 20 minutes , until golden brown.
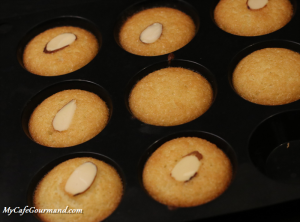
- Baking time may vary depending on your oven and the size of your molds.
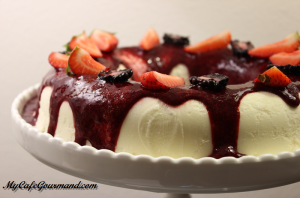
Ice Cream Cake Iceberg
I don’t mean to brag, but as far as homemade ice cream cake recipes go, this one is the winner. The red berry coulis topping is the perfect balance between sweet and sour. This No-Bake Ice Cream Cake Iceberg is the ideal dessert to serve at your next party on a hot summer day.
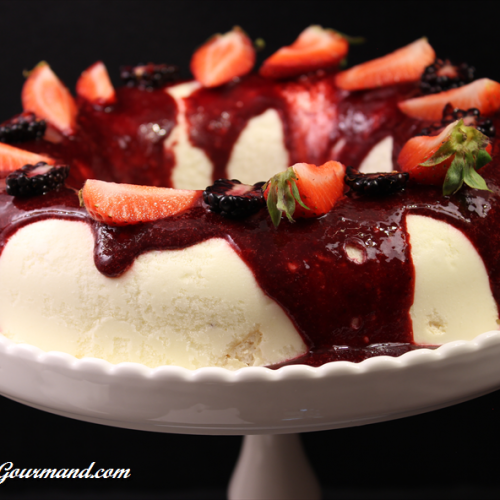
Ice Cream Cake Iceberg
Ingredients
- 4 eggs
- 100 g granulated sugar (50 + 50)
- 1-2 Tbsp vanilla extract
- 300 ml sour cream
- 100 ml heavy whipping cream ( 35%)
- 1 pinch salt
- 300 g red berries (blueberry, huckleberry, boysenberry, raspberry…) fresh or frozen
- Some Fresh berries for garnish
Instructions
- Separate egg yolks from egg whites. Whisk egg yolks with sugar (50 g).
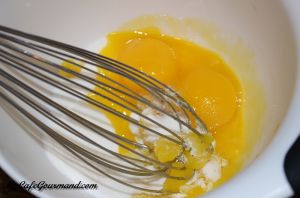
- When the sugar is dissolved add vanilla extract and mix well.
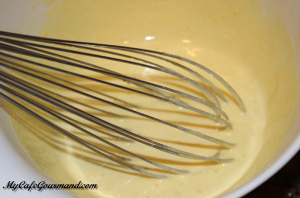
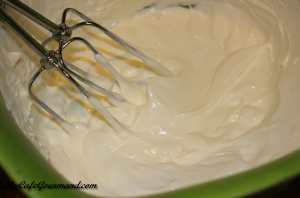
- In a mixer bowl, whisk together very cold sour cream and heavy cream together until fluffy. Add sugar and continue whisking until firm (don’t over whip).
- Using a spatula, combine egg yolks with whipped cream together.

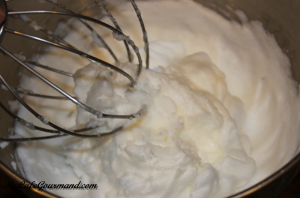
- In a separate bowl, beat the egg whites with a pinch of salt until stiff.
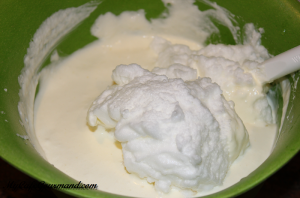
- With a spatula, carefully combine egg whites with whipped cream.
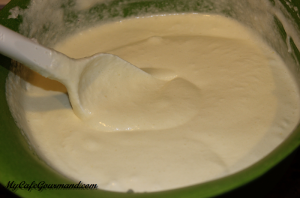
- You should get a nice fluffy cream.
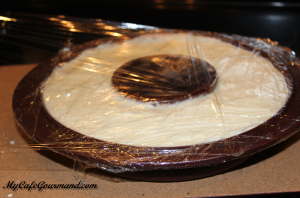
- Spread the cream evenly into a silicone pan or salad bowl.
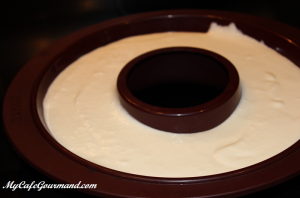
- Cover with plastic wrap and refrigerate for 6 hours or overnight.
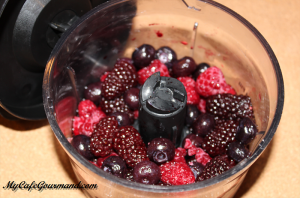
- Rinse and drain fresh berries and puree until smooth. If you are using a frozen berries, place them in a leak-proof container and set the container in cold water for 10-15 minutes, then puree them.
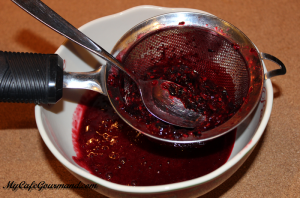
- Pass the puree through a fine sieve to remove all tiny seeds. Coulis is ready.
- Remove it from the silicone pan and return it back to freezer until serving. (If you used a salad bowl, place it into hot water for a couple seconds). Prepare fresh berries for garnish.
- Right before serving, pour the coulis over the ice cream cake and garnish with fresh berries.
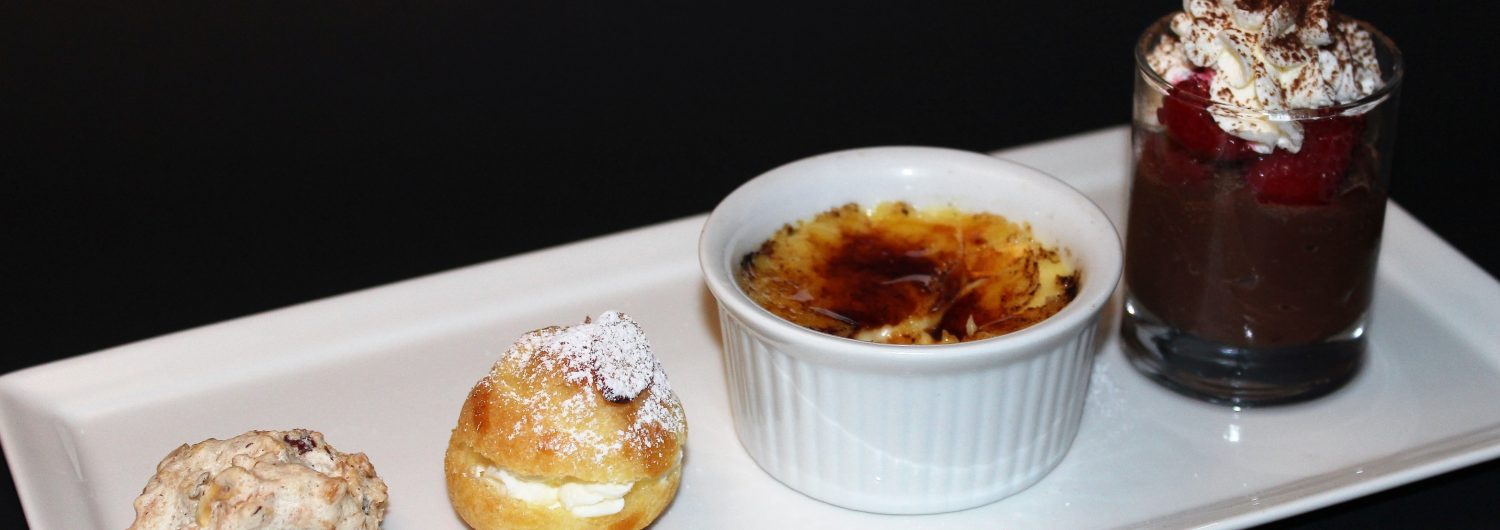
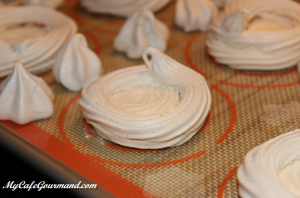
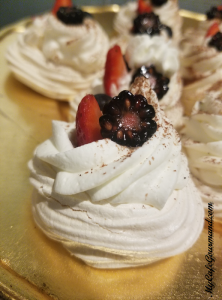
Mini Pavlova
Pavlova is a dessert, named after the Russian ballerina Anna Pavlova, who toured Australia and New Zealand in 1926. It is a meringue dessert with crisp crust and soft light inside, topped with cream and fresh berries.
You can make meringue shells ahead of time and freeze them. I usually make the cream the same day I want to serve my Mini Pavlova. And as always this dessert is a perfect mini dessert for my Cafe Gourmand.
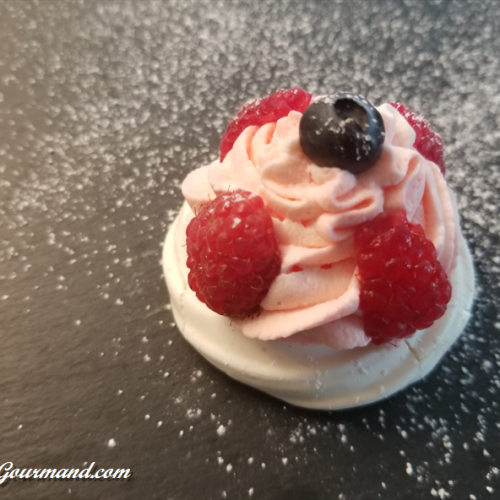
Mini Pavlova dessert
Ingredients
Meringue
- 4 egg whites (room temperature)
- 1 pinch of salt
- 220 g confectioner’s sugar
Cream
- 200 ml heavy whipping cream ( 35%) very cold
- 100 g mascarpone cheese
- 1,5 Tbsp sugar
- 1 drop red food coloring (optional)
- Fresh berries raspberries, strawberries, blackberries, blueberries…
Instructions
Meringue
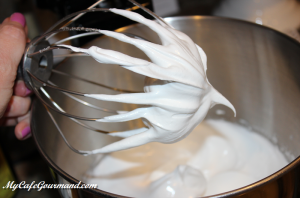
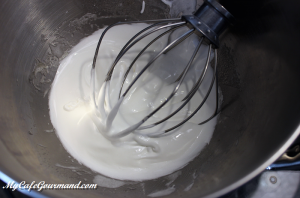
- Using mixer, begin beating your egg whites and salt on a low speed, steadily increasing up to medium high.
- While beating on a medium speed, slowly add the confectioner’s sugar, about 1-2 Tbsp at a time. Once all the sugar is added, keep beating until the egg whites hold stiff peaks.
- Preheat oven to 230 degrees F. Draw circles of approximately 4-8 cm diameter (you can use a pint glass as a guide) on each of the parchment lined sheets.
- Spoon meringue into piping bag, fitted with 3/4 inch tip. Pipe meringue to cover circles on prepared baking sheet. Pipe two more rings of meringues on top of outer edge to form walls of Pavlovas.
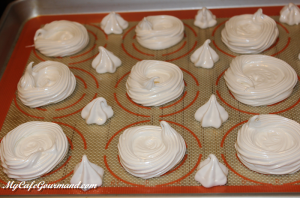
- Bake in center of oven until dry and crisp, about 1 1/2 hours.
- Turn off the oven and let the meringues completely cool in the oven. Once cooled, you can top them with whipped cream and berries.
Filling
- With mixer, beat together very cold heavy cream and mascarpone cheese, until whipped gradually adding sugar. Add food coloring. Don’t overbeat the cream, or you will end up with butter.
- Spoon cream into piping bag.
- Right before serving, pipe frosting on the pavlovas and top with fresh berries.
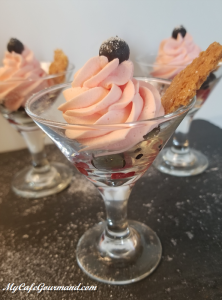
- If you have some leftovers cream, you can pipe it into a small glass and garnish with some fresh berries.
Notes
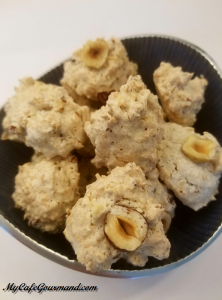
Coconut Cookies with Hazelnuts
Very light, melting in your mouth, make these coconut cookies with shredded coconut and crushed hazelnuts. Works perfectly for gluten free diet. You may want to double the recipe as one batch never seems to be enough. You can freeze the leftovers in a plastic container.
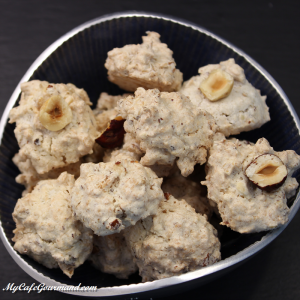
Coconut cookies with hazelnuts
Ingredients
- 2 egg whites
- 1 pinch of salt
- 120 g sugar
- 150 g shredded coconut, unsweetened
- 50 g crushed hazelnuts
Instructions
- Preheat oven to 340 degrees F.
- Combine egg whites and salt in a large bowl. Beat with a mixer at medium speed until soft peaks form. Add sugar, one tablespoon at a time, beating at high speed until stiff peaks form.
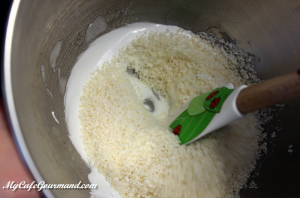
- Gently fold in coconut and hazelnut.
- Drop by rounded tablespoons, 2 inches apart, onto 2 baking sheets covered with parchment paper. Garnish each cookie with half hazelnut. I bake one baking sheet at a time, for 15-20 minutes.
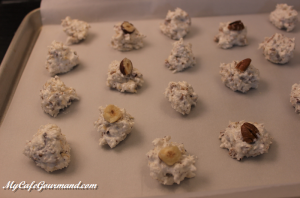
- Remove from the oven and try if the cookie is ready. Cool for about 3 minutes and transfer them onto the serving plate.